The best resource for VHDL engineers
VHDLwhiz’s courses, articles, and resources help you learn and understand advanced concepts within FPGA design.
MONTHLY USERS:
20,000+


Your VHDL resources
Since I started the VHDLwhiz blog in 2017, I’ve published lots of content you can use for learning or in your work. Many things are free, while others are only available in the VHDLwhiz Membership or Shop.
Get free access to the VHDL beginner course material
Fill in the form and check your inbox to get the Zip with VHDL exercises and answers!
Twenty-three lessons and videos are waiting for you.
* You agree to receive email updates from VHDLwhiz.
Unsubscribe at any time.
This site is protected by reCAPTCHA and the Google Privacy Policy and Terms of Service apply.
New in the VHDLwhiz Membership in April 2024
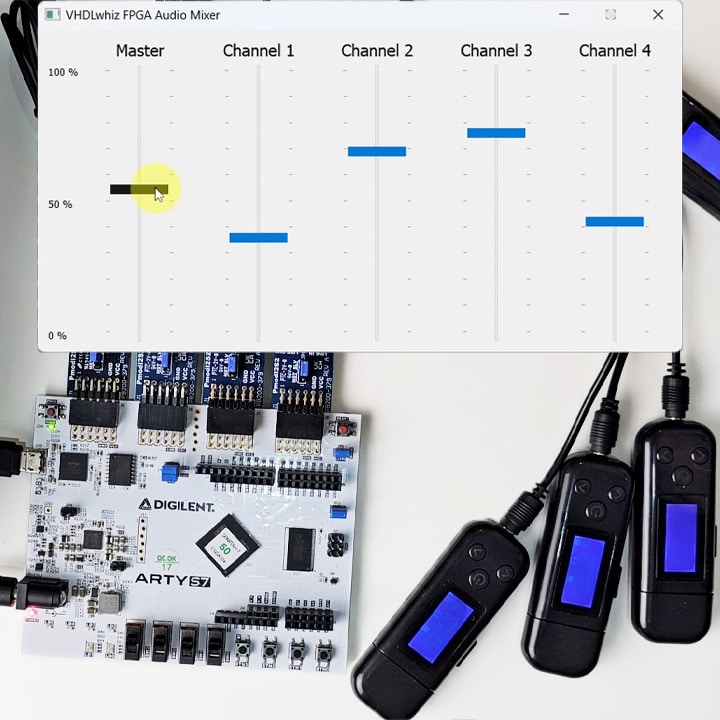
Course: VHDL audio mixer using FPGA DSP blocks
Learn to create a 4-input stereo sound mixer using VHDL and multiplier (DSP) primitives in an FPGA.
We’ll make a neat GUI in Python to control the gain factors in our hardware mixer.
Here are some things this course teaches you:
- How to implement an audio-processing circuit using VHDL and hardware multipliers
- Creating a derived clock with a mixed-mode clock manager (MMCM)
- Adding Verilog modules to your VHDL design
- Normalizing audio
- Dealing with overflow
- Making a self-checking testbench in Vivado
VHDLwhiz Membership
Why join the membership?
This VHDL training program supports you in becoming successful in programmable logic design. You can always improve your skills.
Courses
You gain access to lots of VHDL and FPGA development courses and videos
Resource library
The resource database of VHDL modules and much more help you in your FPGA design work
Community
Ask questions in the lesson comment sections and join the exclusive Facebook group
New content every month
I will add a new course or resource item to the membership every month

“I am very happy that I am a member of your website. I am addicted to your courses.”
—Member

Tools used:
Questa/ModelSim
Intel Quartus
Xilinx Vivado
Lattice iCEcube2
VS Code editor
Windows & Linux

Basic VHDL quiz
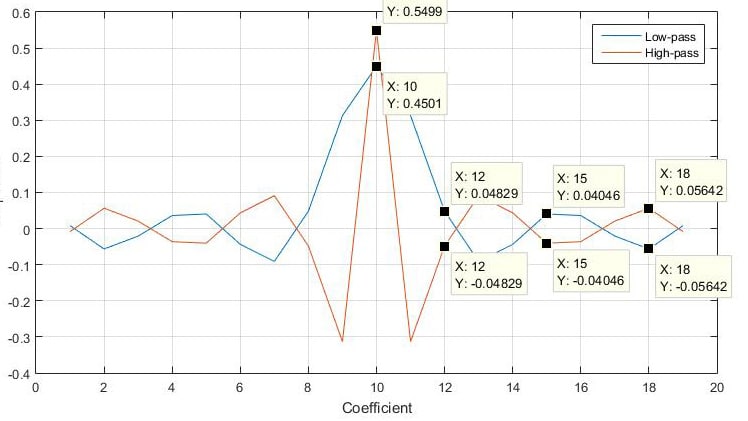
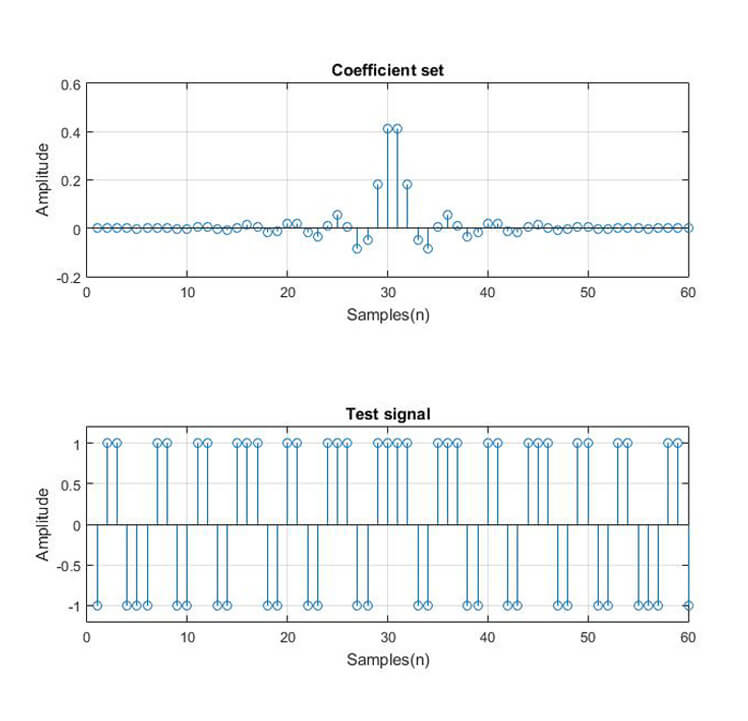
Part 6: Complementary FIR filters
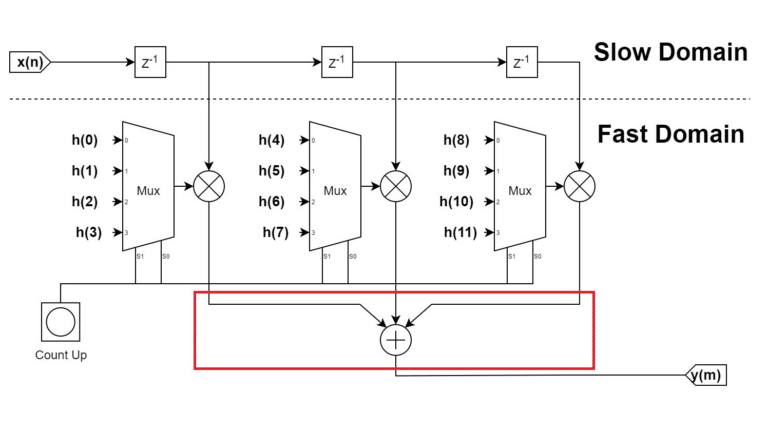
Part 5: Polyphase FIR filters