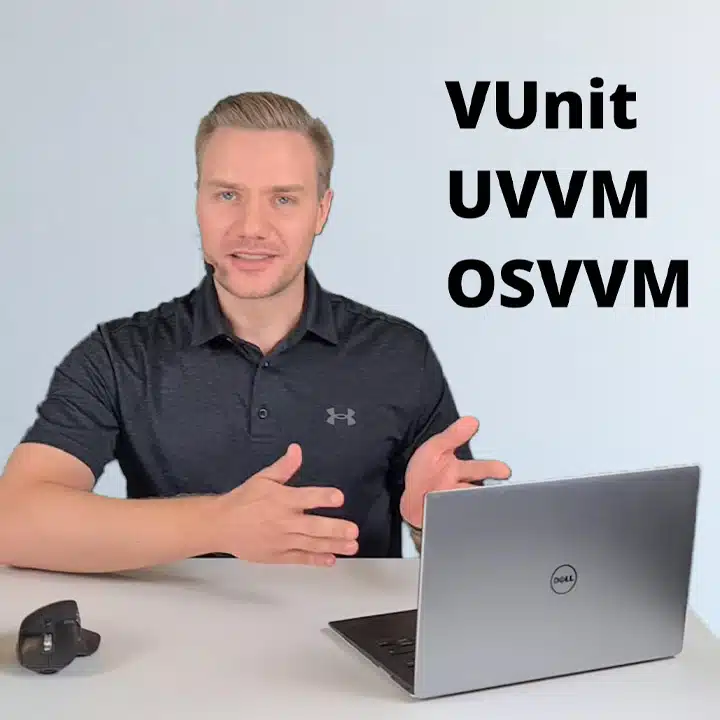
Course: Combining VHDL frameworks: VUnit, UVVM, and OSVVM
You don’t have to use only one VHDL verification framework. We can pick and choose the features we need and combine them to create awesome testbenches.
Description
Of course, you want to select the framework that’s the easiest to learn, quickest for writing testbenches, has the most features, and has the largest ecosystem of verification components.
That makes for a difficult decision because the frameworks have differing qualities, and you won’t find one that’s better than the others in every way.
But you don’t have to choose!
You can use them all simultaneously, and we can cherry-pick the functionality we need from each framework, even in the same testbench.
That’s what we’ll do in this course. We are going to create a self-checking testbench for an existing I2C controller or I2C master if you like. And we’ll use the three most popular VHDL frameworks for that: VUnit, UVVM, and OSVVM.
VHDLwhiz is not affiliated with or endorsed by the VUnit, UVVM, or OSVVM teams.
This course is only available in the VHDLwhiz Membership.
The membership subscription gives you access to this and many other courses and VHDL resources.
You pay monthly to access the membership and can cancel the automatic renewal anytime. There is no lock-in period or hidden fees.
No FPGA board is required as this course is a pure simulation exercise.
Software used in the course
I am using Windows 11 in the course. All the other software is available for free for Windows and Linux:
- Questa – Intel FPGA Edition(includes Starter Edition)
(Any version of ModelSim or QuestaSim will work) - Microsoft Visual Studio Code
(Any editor will do) - VUnit VHDL unit testing framework
- Universal VHDL Verification Methodology (UVVM)
- Open Source VHDL Verification Methodology (OSVVM)
Course outline
The overview below shows the lessons in this course.

1 - Introduction
Why limit yourself to one framework when you can use them all?

2 - Setting up the environment
First, we need to download and compile the frameworks we'll be using.

3 - Converting to a VUnit testbench
Let's alter the old testbench to run it through the VUnit framework.

4 - Converting to a UVVM testbench
We'll restructure the testbench according to the recommendations of the UVVM framework.

5 - UVVM's I²C slave verification component
We can import a bus functional model of an I�C target (slave) from the UVVM framework.

6 - Custom UVVM verification component
We'll create a BFM using UVVM's VVC generator script to handle the custom DUT interfaces.

7 - Custom VVC transmit procedure
Our custom verification component needs functionality for sending commands to the DUT.

8 - Custom VVC receive procedure
In this lesson, we create a procedure in the VVC that reads and checks data from the I�C target.

9 - Using OSVVM's intelligent coverage package
Add randomized functional coverage to your testbench with UVVM's CoveragePkg.

10 - Putting it all together
Let's use the pseudo-random test vectors as the stimulus for the DUT.
This course is only available in the VHDLwhiz Membership.
The membership subscription gives you access to this and many other courses and VHDL resources.
You pay monthly to access the membership and can cancel the automatic renewal anytime. There is no lock-in period or hidden fees.


Reviews
There are no reviews yet.