Course: Run-length encoding in VHDL
$59
Learn how to implement run-length compression in VHDL! We will create encoder and decoder modules, a self-checking testbench, and implement it on an FPGA board.
Description
Run-length encoding is a lossless data compression algorithm that’s both simple and ingenious. And it’s well-suited for FPGAs because it works on data streams and doesn’t require many resources.
In the twelve lessons of this mini-course, you will learn how RLE works, how to translate the algorithm to VHDL, and in the end, we will implement it on the Lattice iCEstick FPGA board to see it working in real-time.
You can still use the VHDL code if you have a different board after changing the constraint files. But it’s also OK to only use the simulator because I will show it on my board in the last lesson.
The more advanced learners can benefit from the self-checking testbench that reads and writes BMP image files to verify that the device under test (DUT) is working correctly.
This course is also available in the VHDLwhiz Membership.
The difference is that when you purchase this product, you get permanent access to the course, while the membership charges a monthly fee to access the content.
Software used in the course
I am using Windows 11 in the course. All the other software is available for free for Windows and Linux:
⚠ Notice: free educational license required
Lattice Semiconductor now charges over $350/year for the iCEcube2 software.
Fortunately, VHDLwhiz, in cooperation with Lattice, offers a 1-year educational license for iCEcube2 to customers who purchase a course that uses the iCE40 FPGA.
Reply to the purchase confirmation email to request a free license.
- Questa – Intel FPGA Edition(includes Starter Edition)
(Any version of ModelSim or QuestaSim will work) - Lattice iCEcube2 Design Software
- Microsoft Visual Studio Code
(Any editor will do)
Course outline
The overview below shows the lessons you can access after purchasing this course.
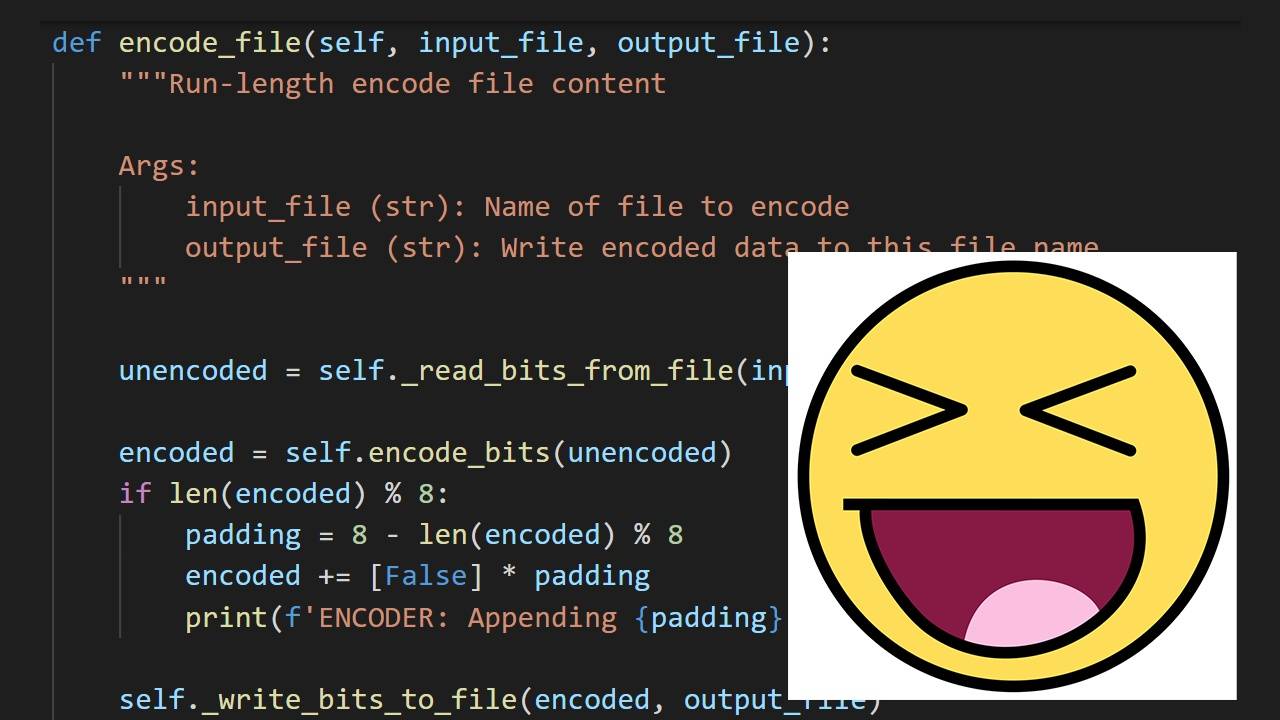
RLE test script
Use this Python script to play around with run-length encoding. Compress and decompress bit sequences or files.

1 - Introduction
Welcome to another exciting tutorial series. Here's what we will do.
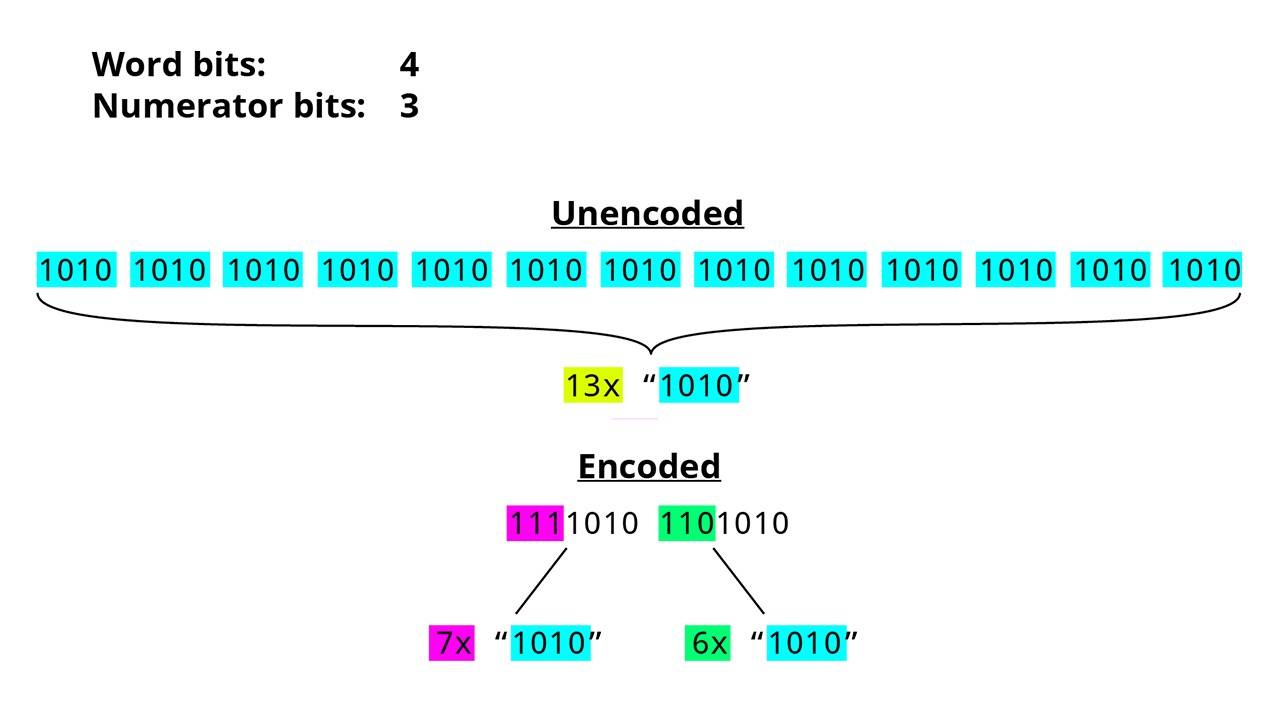
2 - How RLE works
Before we can start coding, we have to understand how the RLE algorithm works.
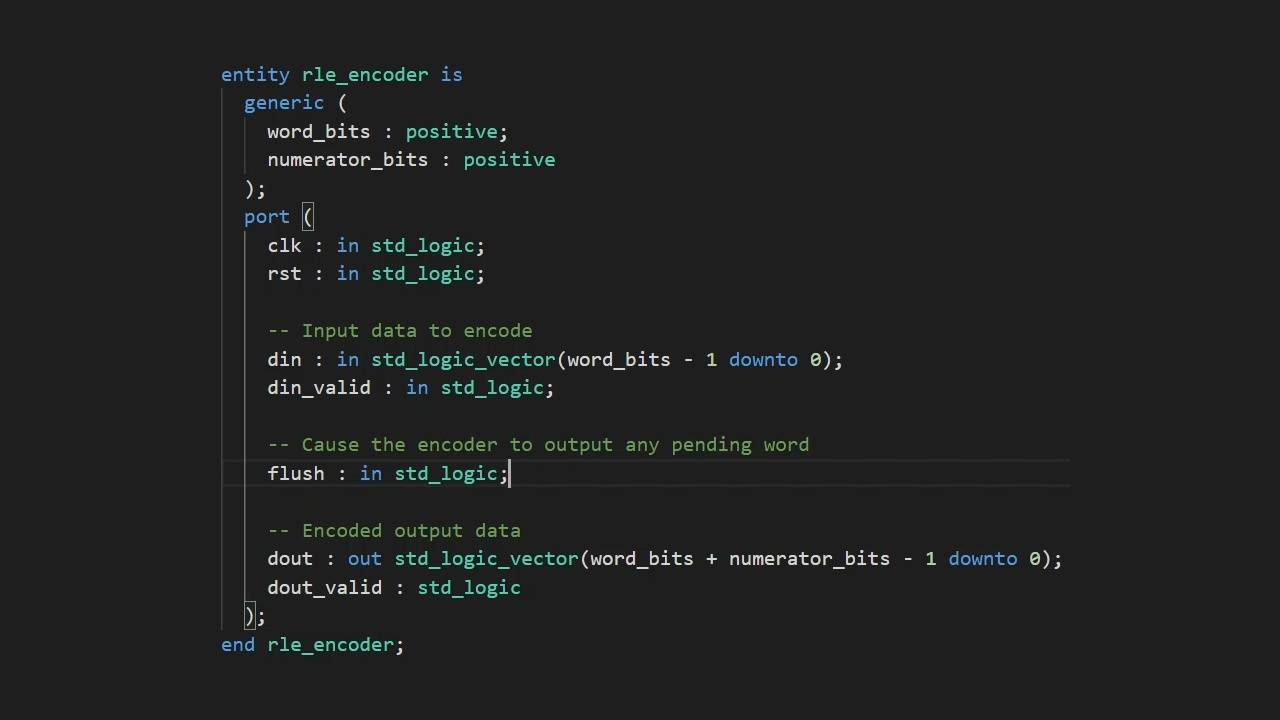
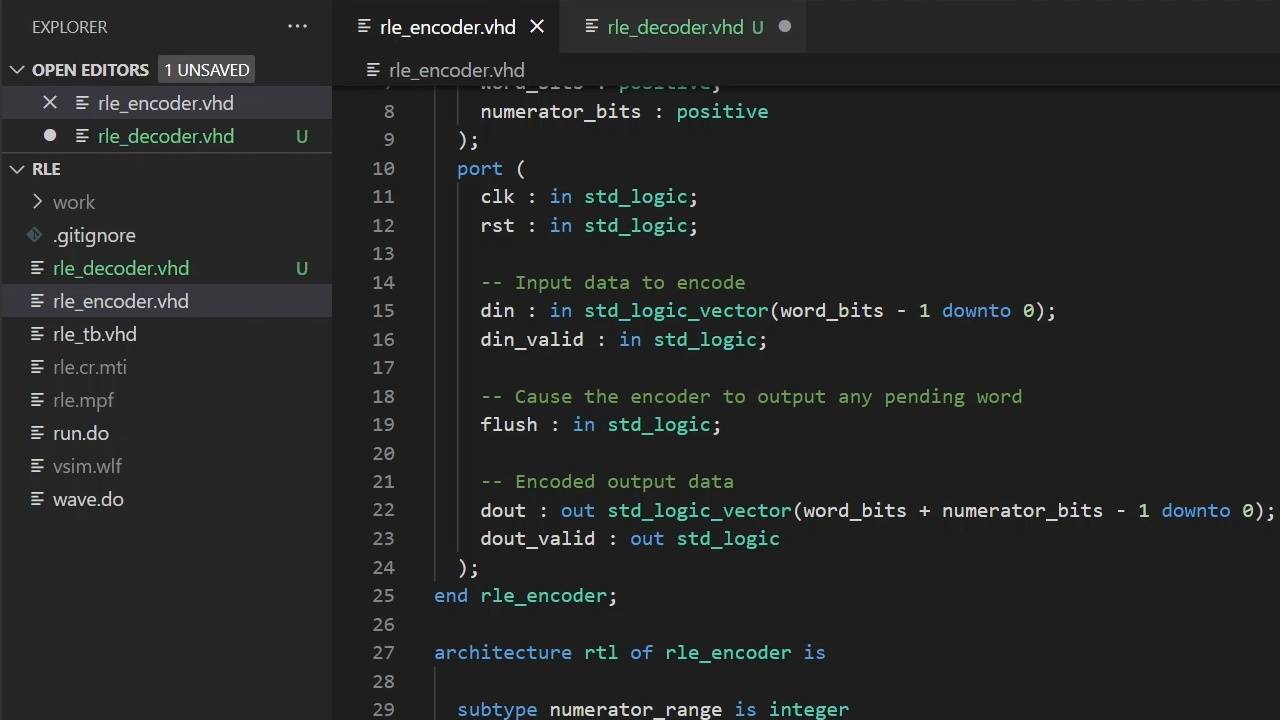
3 - Encoder entity
Now that we understand how RLE works, we can start defining the encoder module's entity signals.
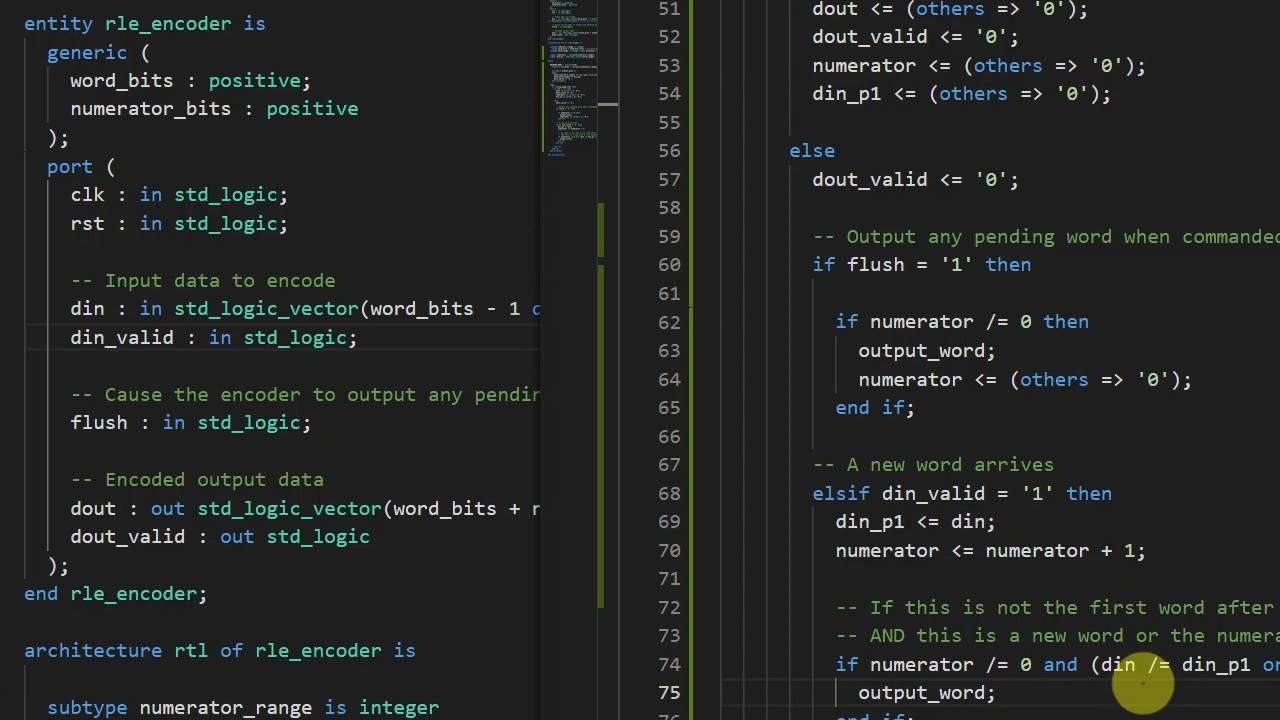
4 - Encoder implementation
Let's complete the encoder module!

5 - Testing the encoder
It's normal to create a simple ad-hoc testbench at first when developing a new module.
6 - Decoder entity
The decoder's entity is similar to the encoder but with the opposite in and out buses.
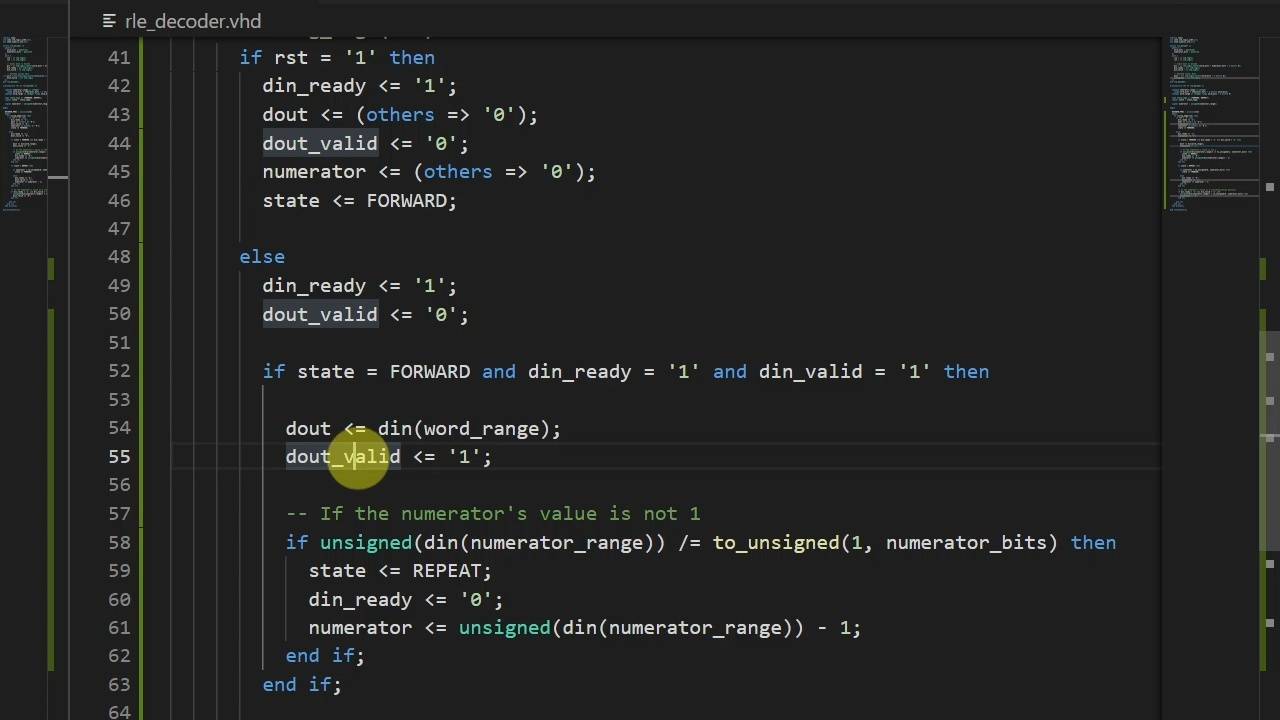
7 - Decoder implementation
It's time to complete the decoder module.
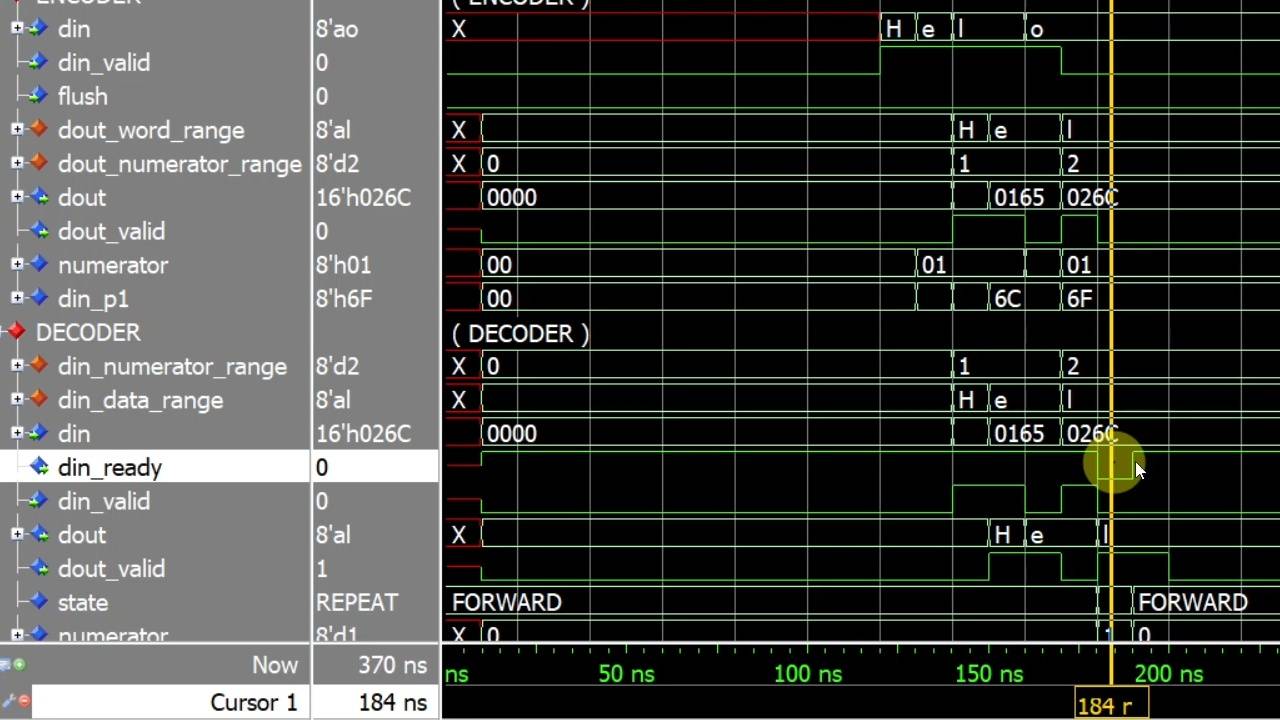
8 - Testing the decoder
Maybe we will discover something about the decoder if we examine the waveform.
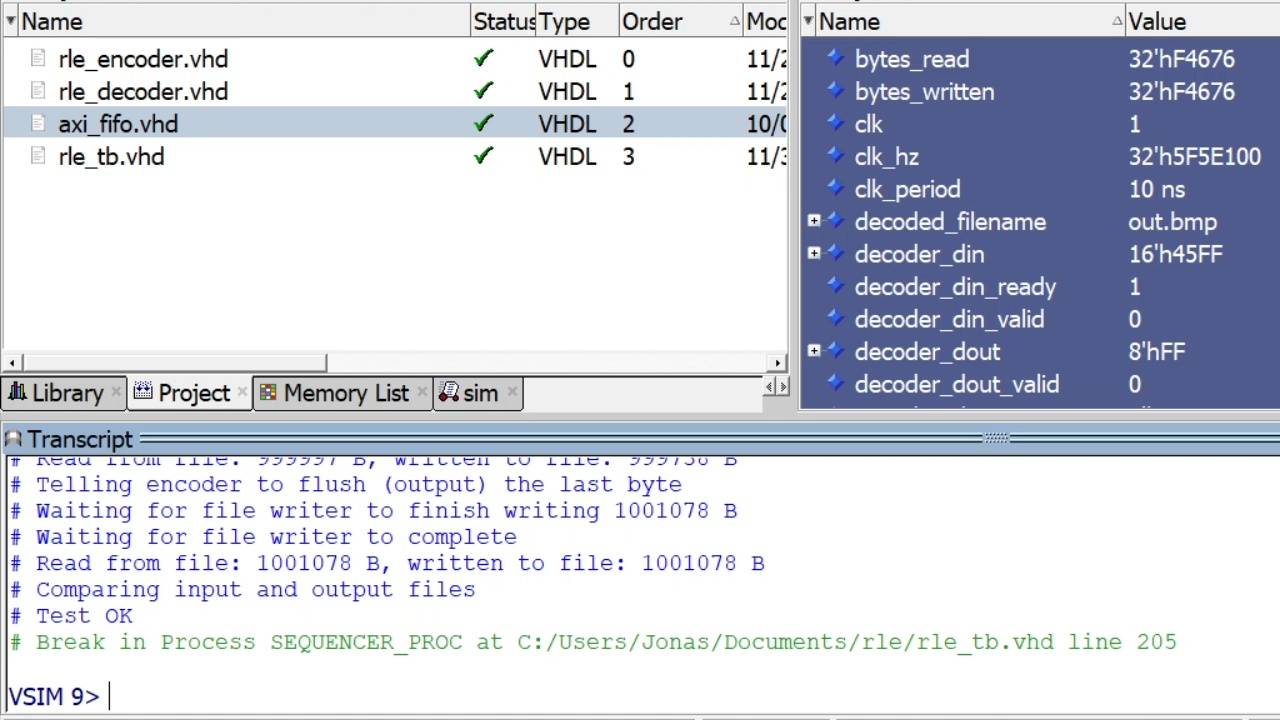
9 - Self-checking testbench
This testbench reads and writes BMP image files to verify that DUTs compress and decompress data correctly.

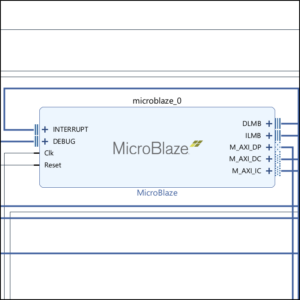
10 - Top module
We need to place the encoder and decoder in a top module to test the design on an FPGA.

11 - Implementing on the iCEstick
Let's create a new iCEcube2 project and implement the design on the Lattice iCEstick.
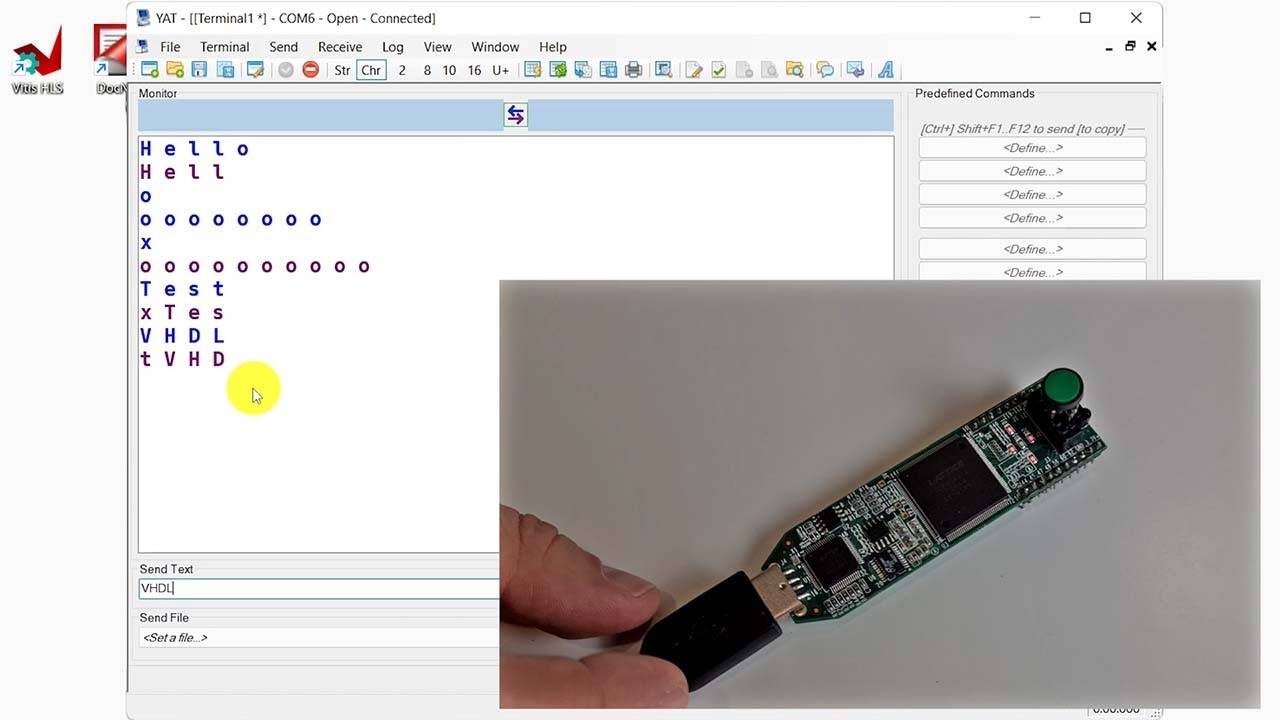
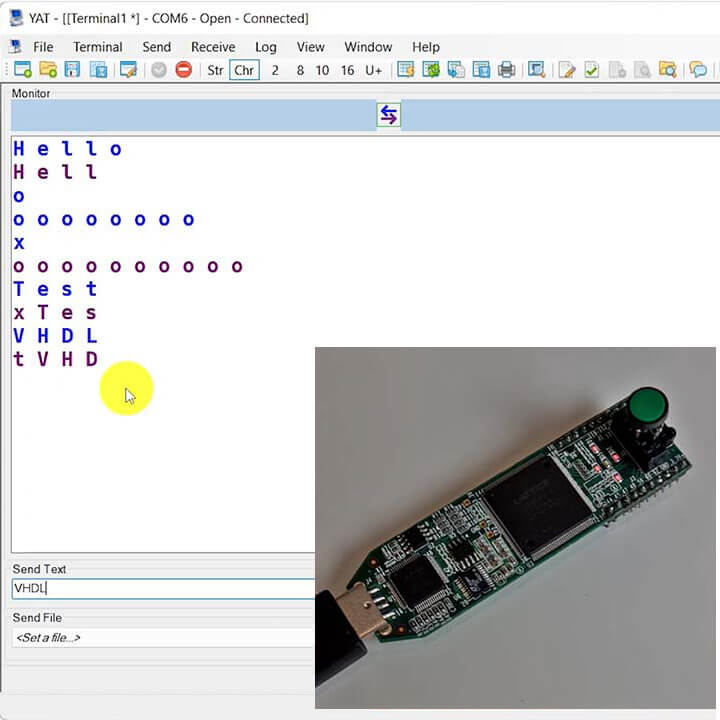
12 - Lab testing
It's time to test run-length encoding on the FPGA!
Reviews
There are no reviews yet.