Course: Accelerometer FPGA interface using open-source VHDL libraries
Learn to build a VHDL design with open-source RTL modules from Open Logic and OSVVM verification components, and interface the ADXL362 accelerometer chip on the Pmod ACL2 over SPI.
Description
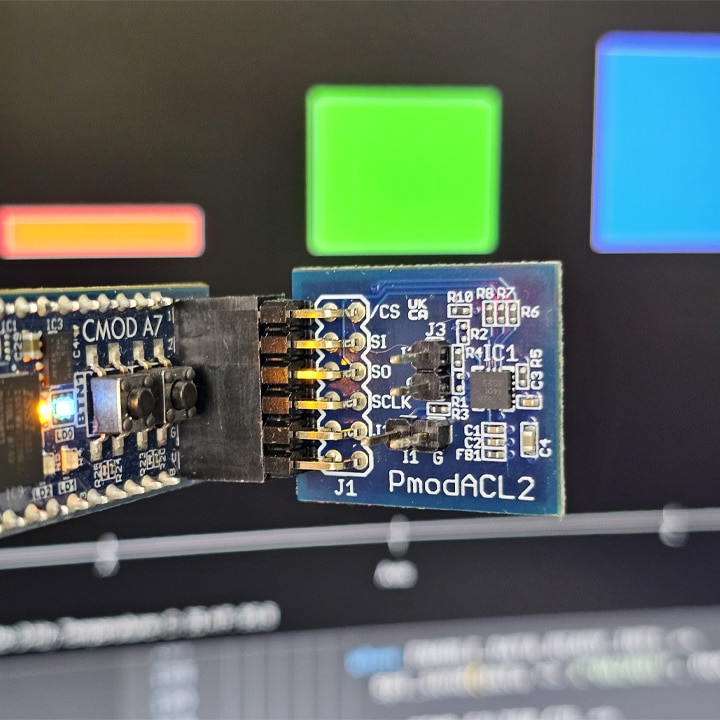
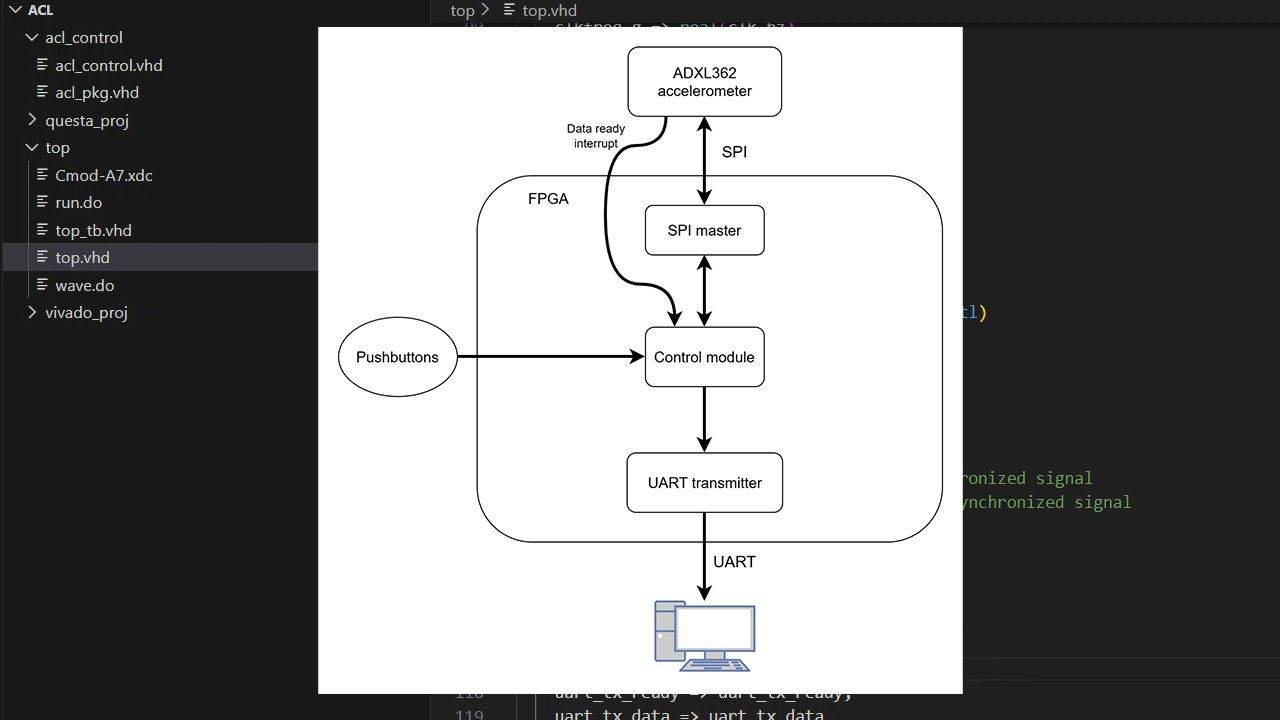
In this course, we read an ADXL362 accelerometer with an FPGA and plot the live motion on the computer. The chip communicates with the FPGA over SPI, the FPGA forwards the data over UART, and a Python GUI shows the X, Y, and Z acceleration as bars that move as you tilt the board.
But this course is about more than reading a sensor. The real subject is how to put together a VHDL project from open-source libraries instead of writing every module from scratch. The SPI master, UART transmitter, reset generator, synchronizer, and debouncer all come from the Open Logic VHDL standard library. The only RTL we write by hand is the finite-state machine that controls the accelerometer.
Open Logic is worth knowing about by itself. VHDL has had great verification frameworks for years, but no standardized library of synthesizable RTL modules with a consistent interface. Open Logic fills that gap. You can read more about it in this guest post by its creator, Oliver Bründler, here on VHDLwhiz.
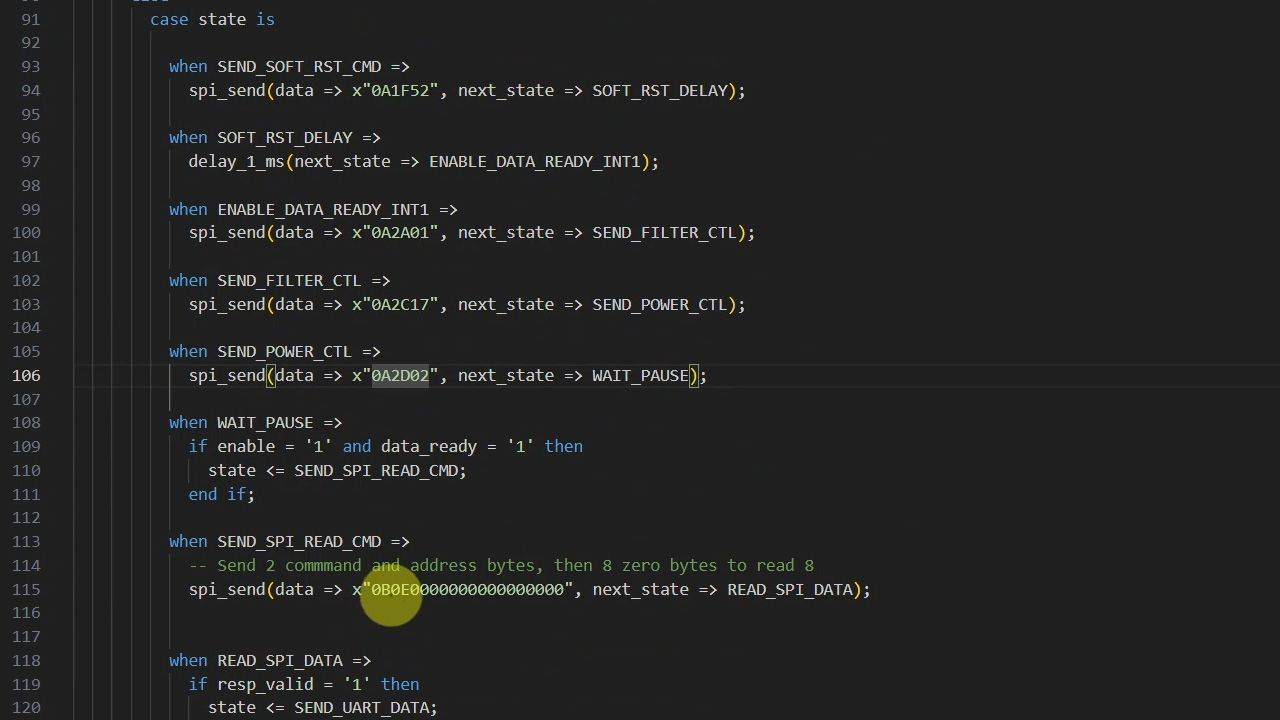
We read the ADXL362 datasheet together and translate the register map into SPI transactions: soft reset, interrupt mapping, output data rate, and measure mode. The finite-state machine sequences it all through ready/valid handshakes and reads the X, Y, Z, and temperature registers in a single SPI burst.
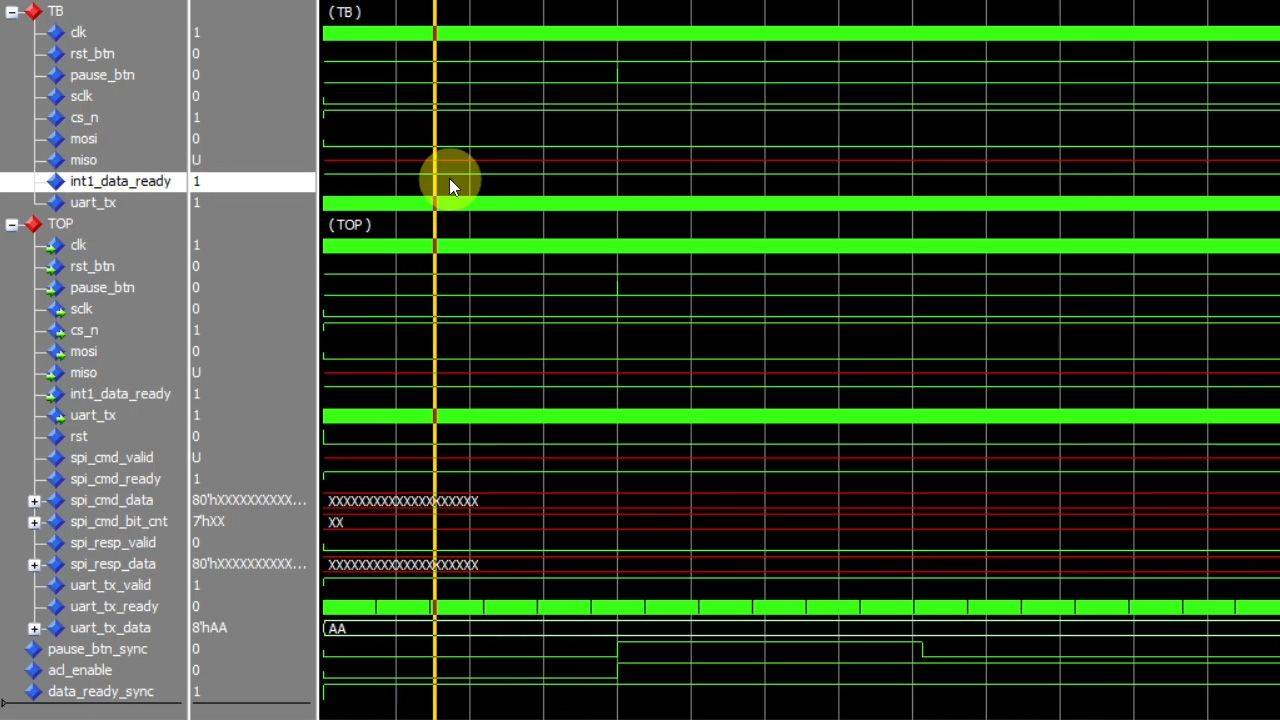
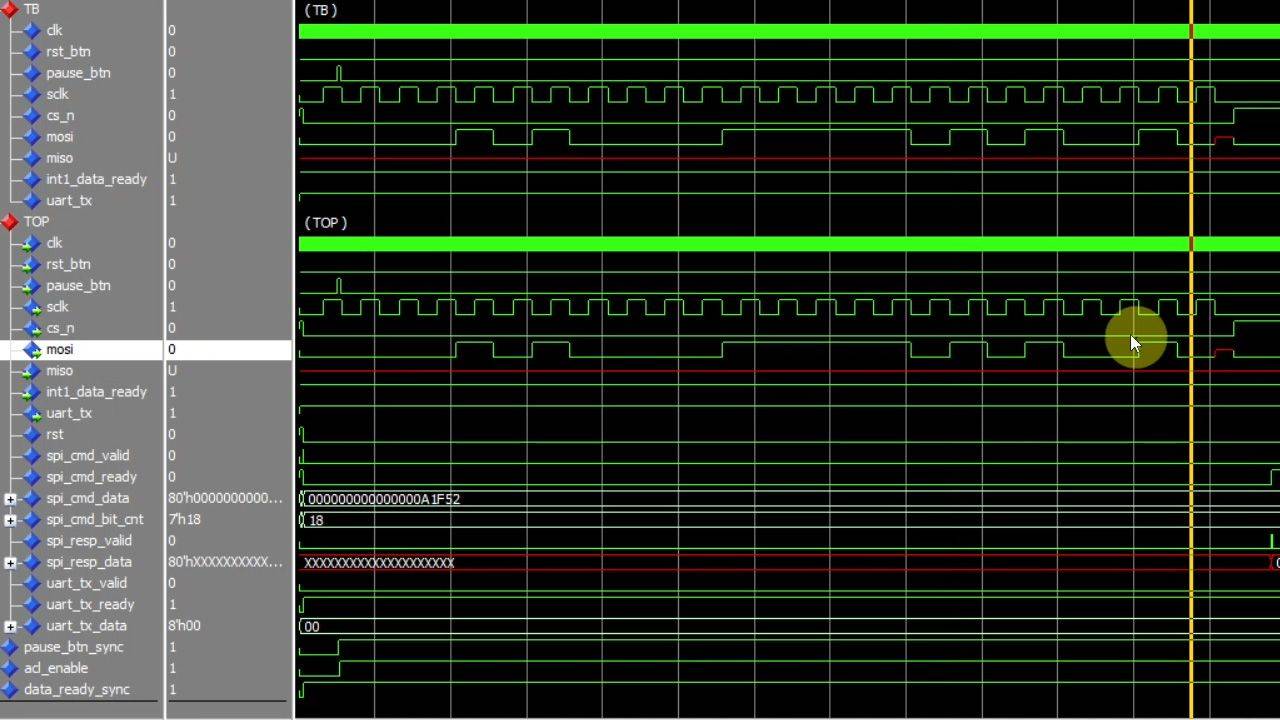
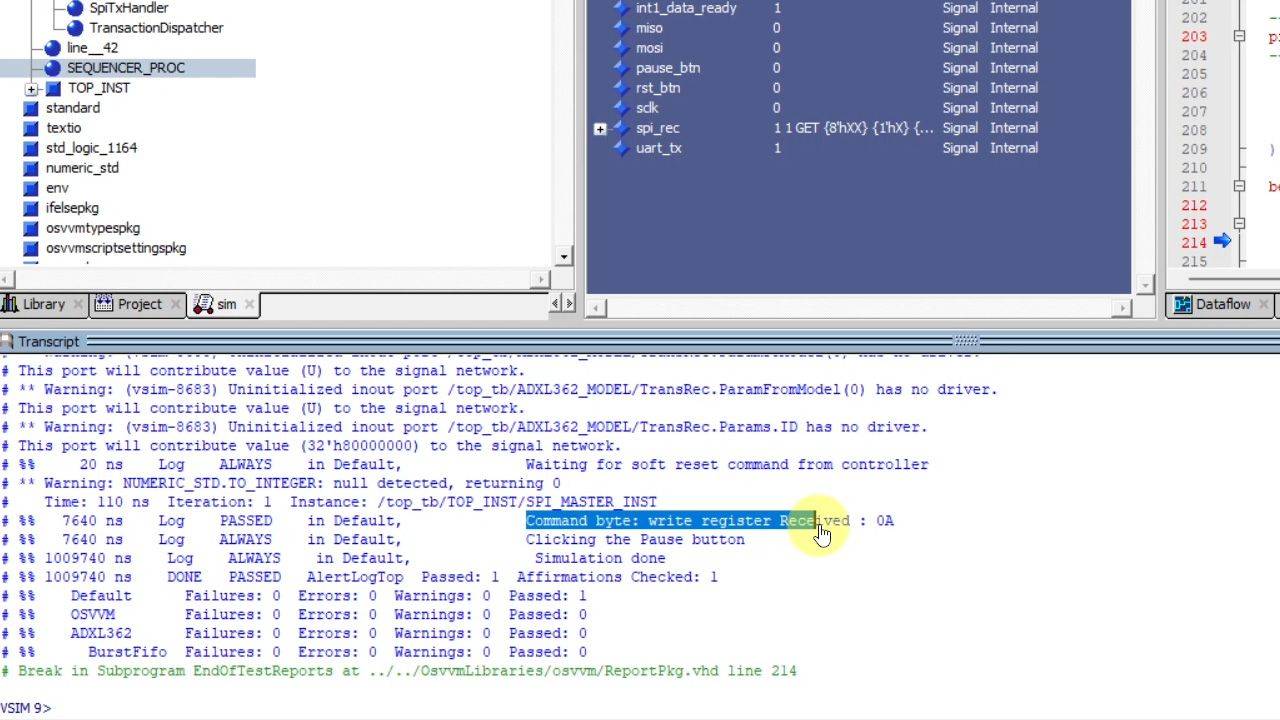
The testbench is built the same way as the design: from ready-made components. OSVVM’s SPI peripheral model stands in for the accelerometer, and its UART receiver model plays the host computer. The result is an uncomplicated self-checking testbench that verifies every command and data byte the design sends.
Finally, we implement the design in Vivado and create the Python GUI that plots the live data. We let AI (ChatGPT) generate the Python code, but you don’t need an AI subscription as the finished program is included in the course.
This course is only available in the VHDLwhiz Membership.
The membership subscription gives you access to this and many other courses and VHDL resources.
You pay monthly to access the membership and can cancel the automatic renewal anytime. There is no lock-in period or hidden fees.
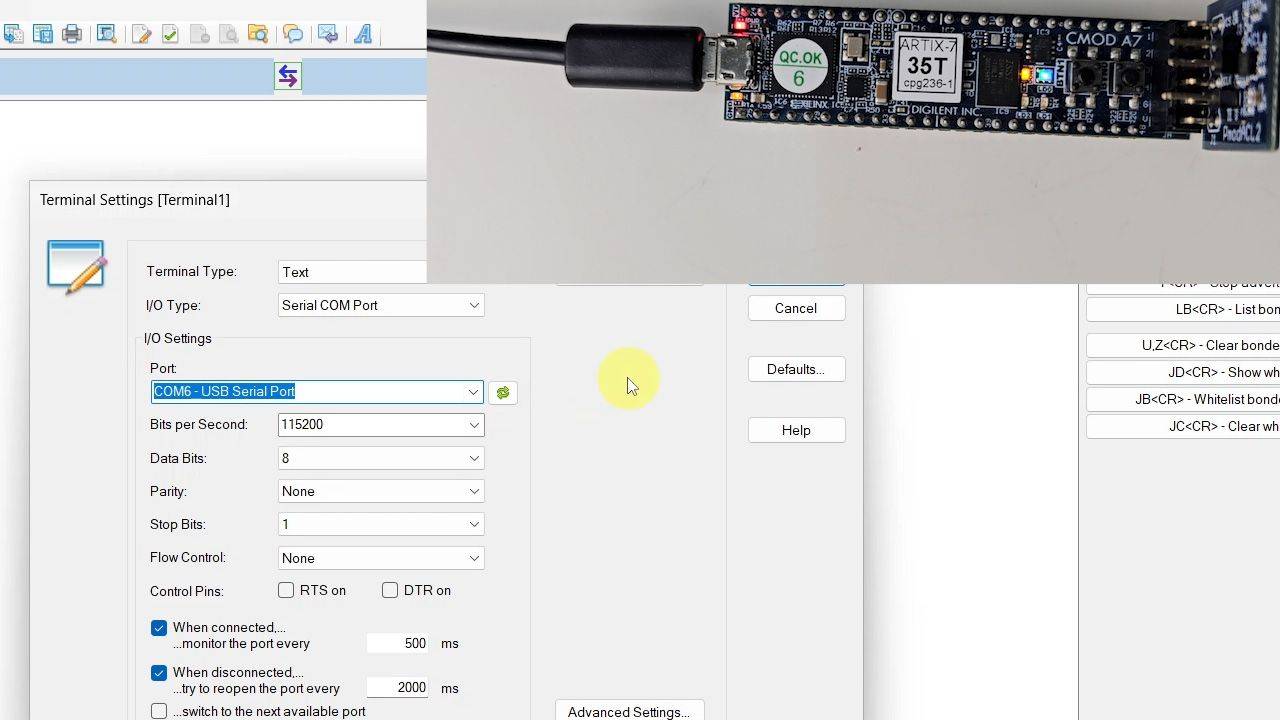
You can follow most of the course in simulation because the testbench models both the accelerometer and the host computer. But you need the hardware below to stream live acceleration data.
Hardware used in the course
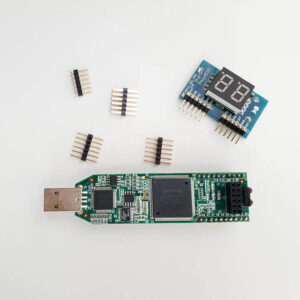
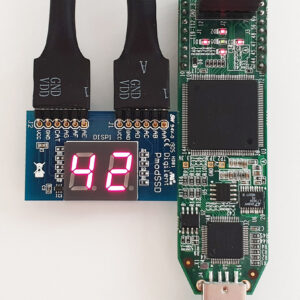
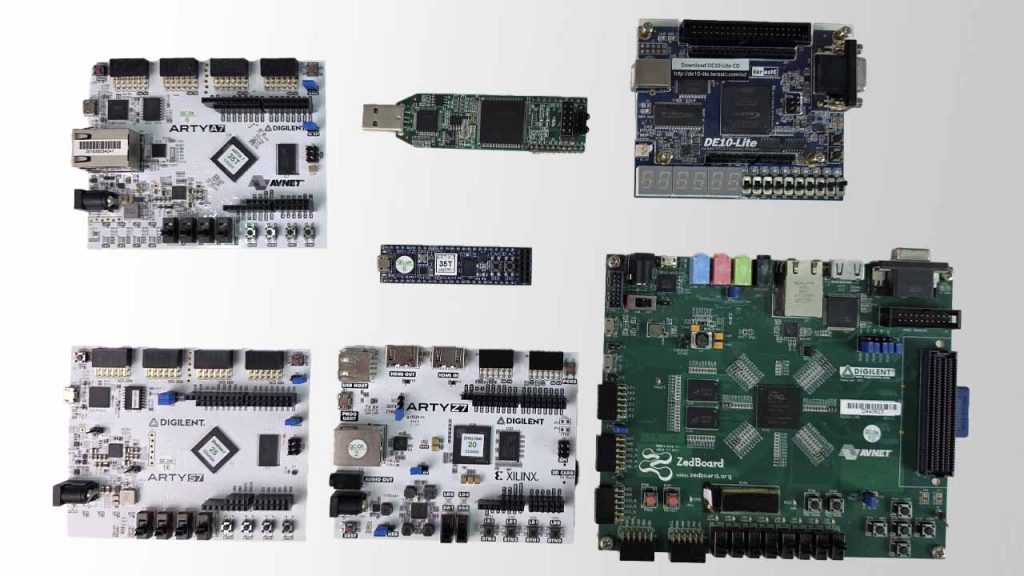
- Cmod A7-35T: Breadboardable Artix-7 FPGA Module (SKU: 410-328-35)
Resellers: Digilent, Mouser, DigiKey
(I use this tiny board in the course, but you can use almost any FPGA board.) - Pmod ACL2: 3-axis MEMS Accelerometer (SKU: 410-255)
Resellers: Digilent, Farnell, Mouser, DigiKey, RS Electronics
Software used in the course
I use Windows 11 in the course. All the other software is available for free for Windows and Linux:
- Questa – Intel FPGA Edition(includes Starter Edition)
(Any version of ModelSim or QuestaSim will work) - AMD Vivado
(Or the implementation software for your FPGA architecture) - The Open Logic VHDL standard library
(The course shows how to compile it for Questa and Vivado) - The OSVVM verification libraries
(The course shows how to compile them for Questa) - Microsoft Visual Studio Code
(Any editor will do) - Python 3
(For the GUI utility that plots the acceleration data)
Course outline
The overview below shows the lessons in this course.

1 - Introduction
Welcome to the course! Here's what you will learn.
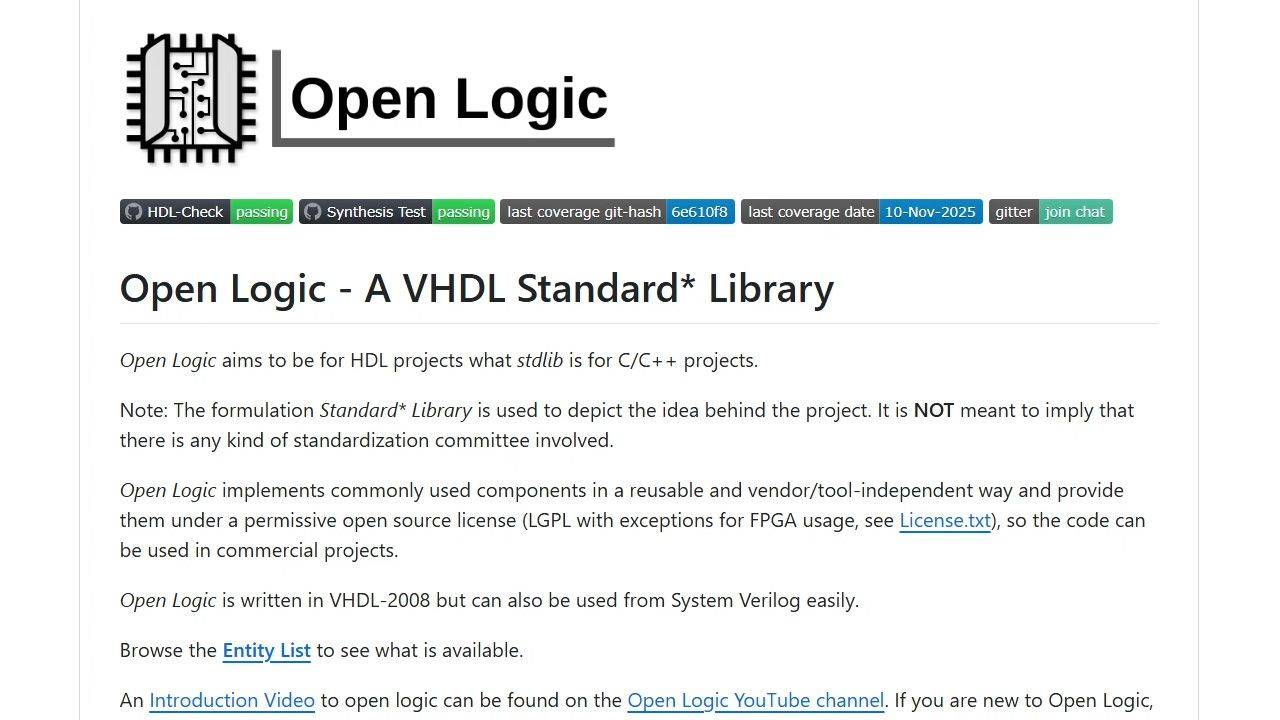
2 - Open Logic VHDL standard library
Open Logic is a collection of open-source VHDL modules and packages that we can use as building blocks in our project.
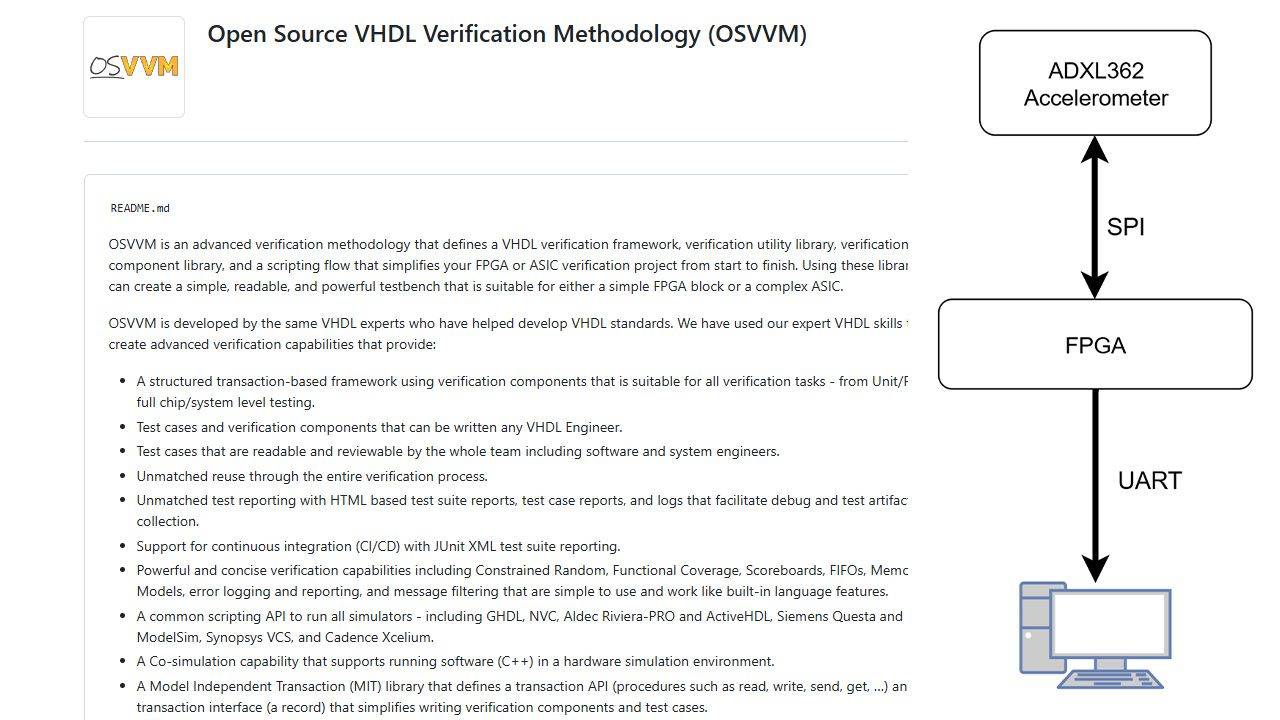
3 - OSVVM testbench framework
We'll use the OSVVM VHDL verification framework for the testbench because it has simulation models for SPI peripherals as well as UART.
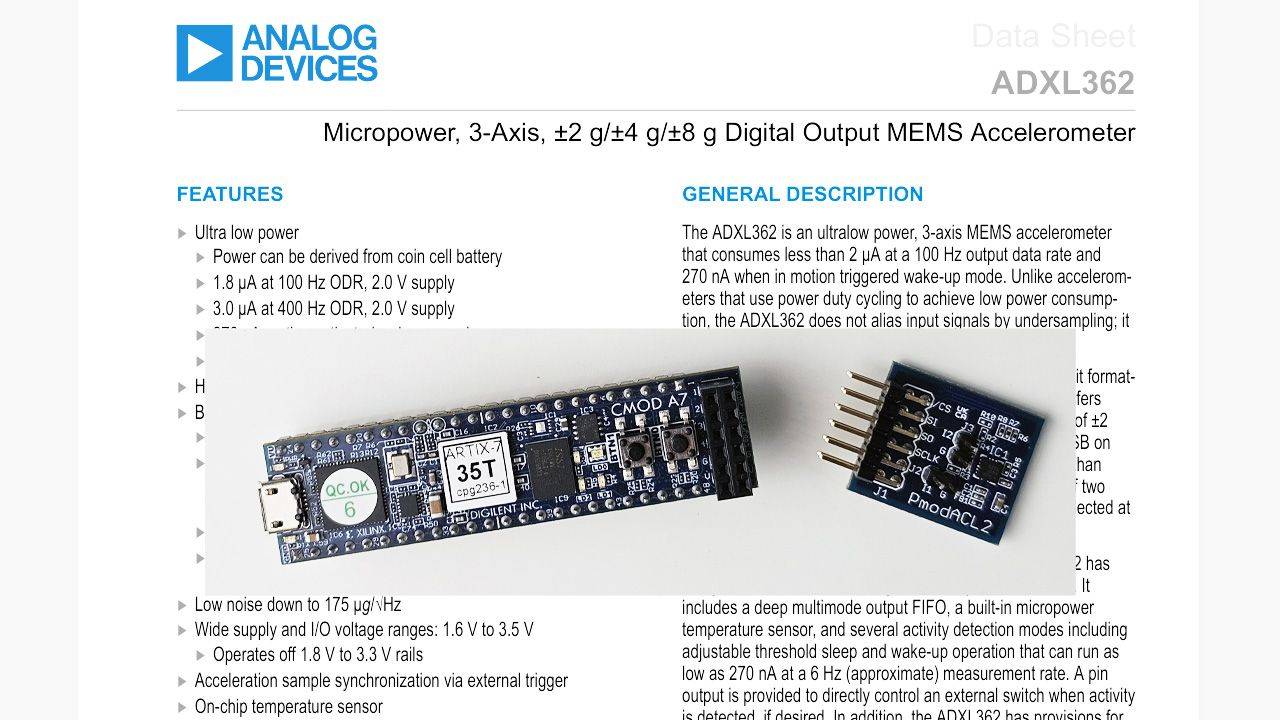
4 - Accelerometer chip datasheet
To get a good understanding of how the Analog Devices ADXL362 MEMS accelerometer works, we'll read the datasheet before starting on the code.
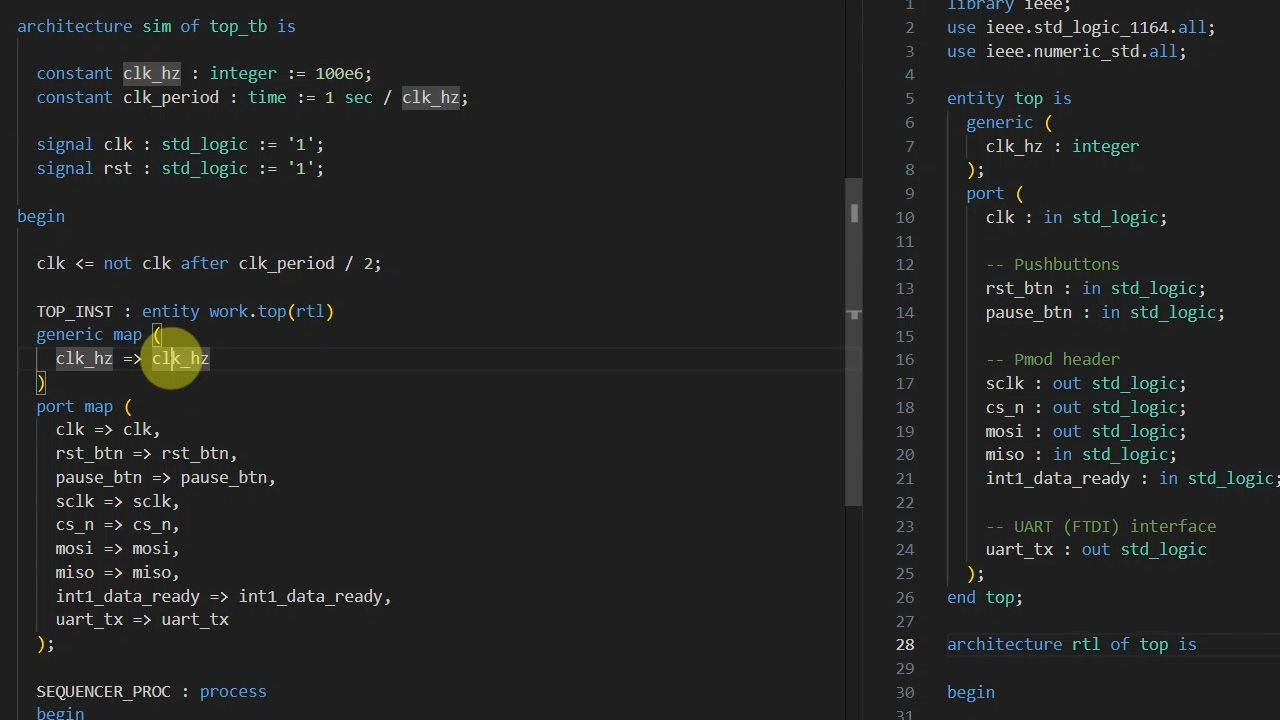
5 - Top module and pin constraints
Let's start with the top-level VHDL module. We need to examine the reference manuals to derive the signal names and pin numbers.
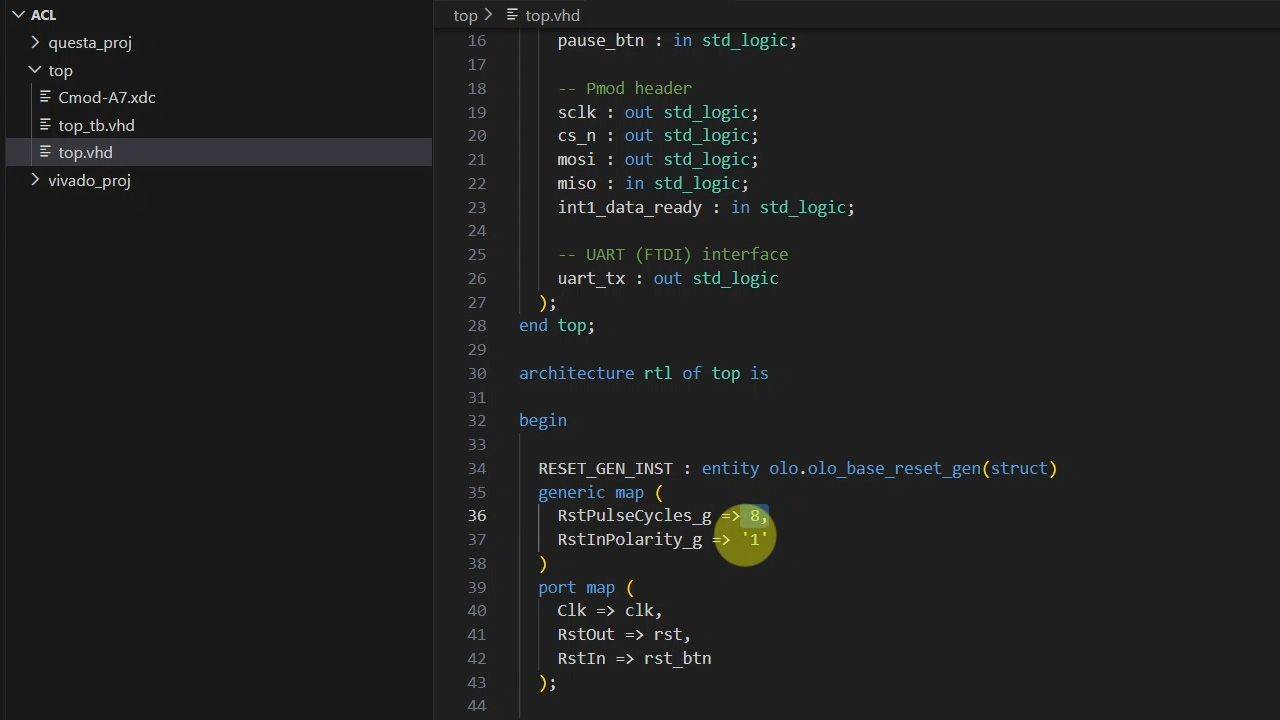
6 - Open Logic reset synchronizer
We'll start easy with the module that generates the internal reset as the first to import from the Open Logic VHDL standard library.
7 - Open Logic SPI master
Let's skip writing an SPI controller from scratch and instead configure the Open Logic SPI master for the Analog Devices ADXL362 accelerometer.
8 - Control and UART modules
It's time to start on the control module that will contain our VHDL finite-state machine. The UART transmitter we'll import from Open Logic.
9 - Async signal handling
You need a strategy for handling asynchronous inputs like pushbuttons and interrupts. We'll use a 2FF synchronizer, a debouncer, and an edge detector.
10 - Control module FSM states
Now we can start on the control module's finite-state machine (FSM) that will communicate with the SPI master and UART transmitter modules.
11 - SPI peripheral verification component
OSVMM has a verification component (VC) for simulating SPI peripherals (formerly called SPI slaves). We'll use it to check that our VHDL design follows the protocol.
12 - Configuration data
Let's start the FSM by issuing a SOFT_RST command before setting up the ADXL362's config registers, including INTMAP1, FILTER_CTL, and POWER_CTL.
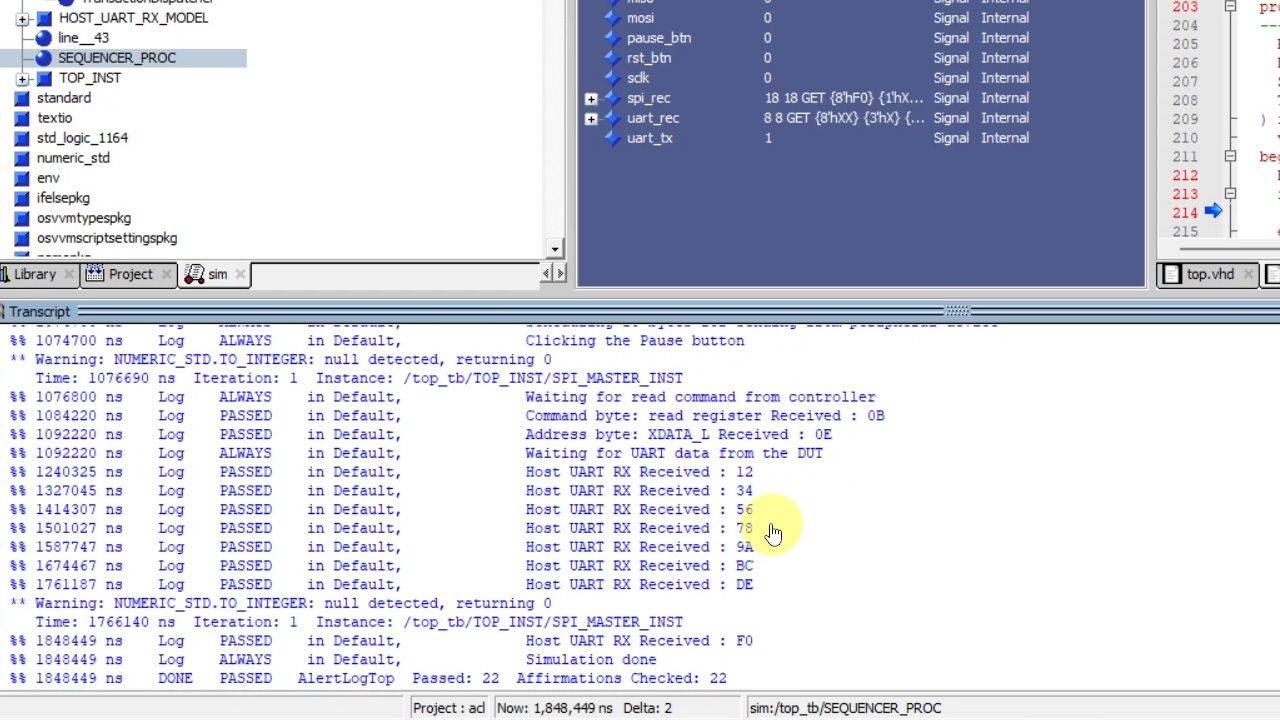
13 - UART transmitter and verification component
We'll transmit the data to the host computer using the Open Logic UART transmitter while using OSVVM's UART receiver VC in the testbench
14 - Implementation
Finally, it's time to implement the design in Vivado and program the board. But will we see acceleration data streaming from the FPGA?
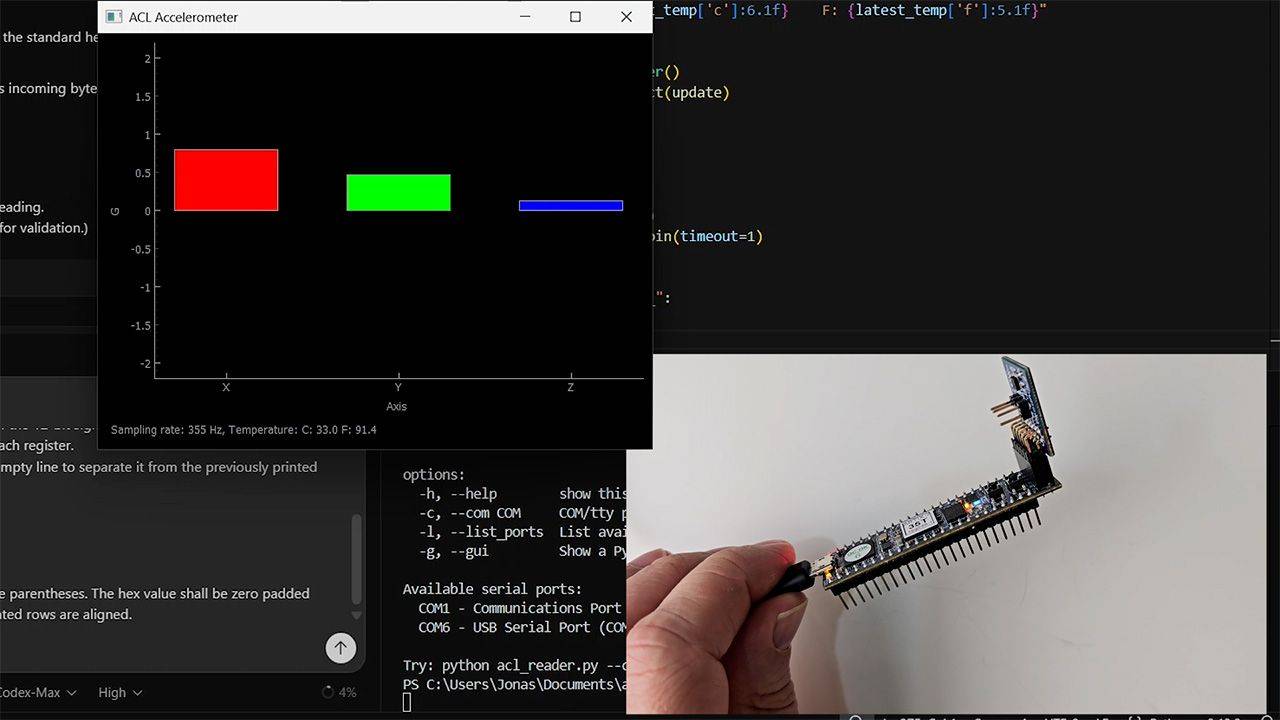
15 - Visual representation
Let's create a beautiful graphical user interface (GUI) that displays the X, Y, and Z acceleration data as bars that move in real time as we tilt the FPGA and accelerometer.
This course is only available in the VHDLwhiz Membership.
The membership subscription gives you access to this and many other courses and VHDL resources.
You pay monthly to access the membership and can cancel the automatic renewal anytime. There is no lock-in period or hidden fees.
Reviews
There are no reviews yet.