Course: SPI master for reading ambient light sensor
$59
Learn to create an SPI master in VHDL for reading an ambient light sensor from an FPGA. We also make an SPI slave BFM for simulating the ADC chip.
Description
This course teaches how to create a Serial Peripheral Interface (SPI) master (controller) module in VHDL.
We write an SPI master VHDL module from scratch and create a self-checking testbench using Bus Functional Model (BFM), also written in VHDL.
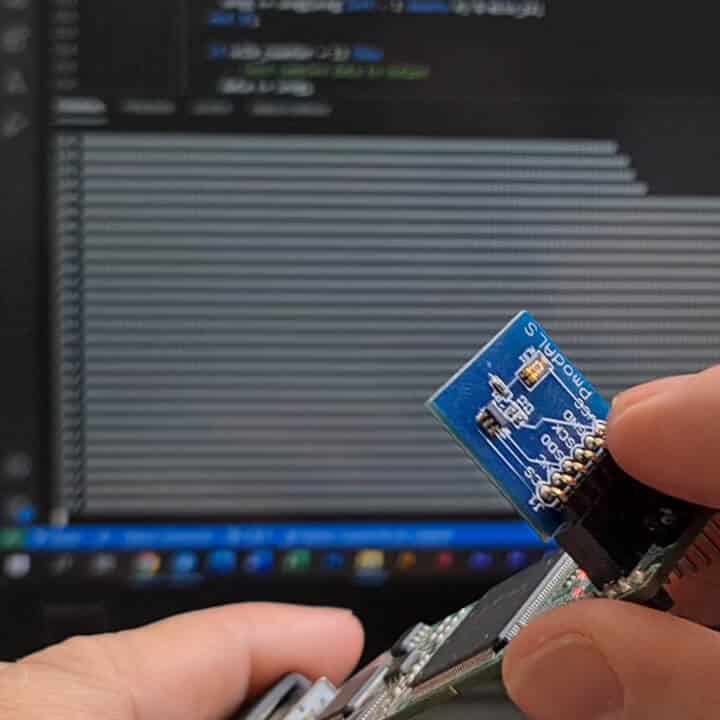
Then we create a top-level VHDL design for reading data from the Digilent Pmod Ambient Light Sensor (ALS) (SKU: 410-286).
Finally, we implement the design on the Lattice iCEstick FPGA board to see it working in the lab. (You can use a different development board as long as it can interface the ALS)
I’m using a Python script to visualize the light intensity data from the ALS in real time over UART. The script and all the code you need are available in the course.
This course is also available in the VHDLwhiz Membership.
The difference is that when you purchase this product, you get permanent access to the course, while the membership charges a monthly fee to access the content.
Hardware used in the course
- Digilent Pmod Ambient Light Sensor (ALS) (SKU: 410-286)
Resellers: Digilent, Farnell, Newark, Mouser, Digi-Key - Lattice iCEstick (SKU: ICE40HX1K-STICK-EVN)
Resellers: Lattice, Farnell, Newark, Mouser, Digi-Key
(You can use a different FPGA board if it can interface the 3.3V ALS Pmod board.)
Search for “Lattice iCEstick” and the Pmod ALS SKU number “410-286” in your favorite online electronics store or e-commerce sites like eBay to find them.
Software used in the course
I am using Windows 11 in the course. All the other software is available for free for Windows and Linux:
⚠ Notice: free educational license required
Lattice Semiconductor now charges over $350/year for the iCEcube2 software.
Fortunately, VHDLwhiz, in cooperation with Lattice, offers a 1-year educational license for iCEcube2 to customers who purchase a course that uses the iCE40 FPGA.
Reply to the purchase confirmation email to request a free license.
- Questa – Intel FPGA Edition(includes Starter Edition)
(Any version of ModelSim or QuestaSim will work) - Lattice iCEcube2 Design Software
(Or the implementation software for your FPGA architecture) - Microsoft Visual Studio Code
(Any editor will do)
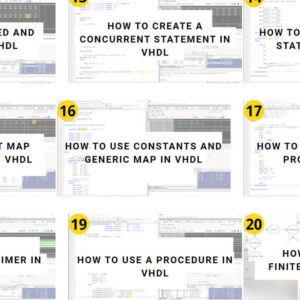
Course outline
The overview below shows the lessons you can access after purchasing this course.
1 - How SPI works
Welcome! Let's talk about SPI and the ambient light sensor.
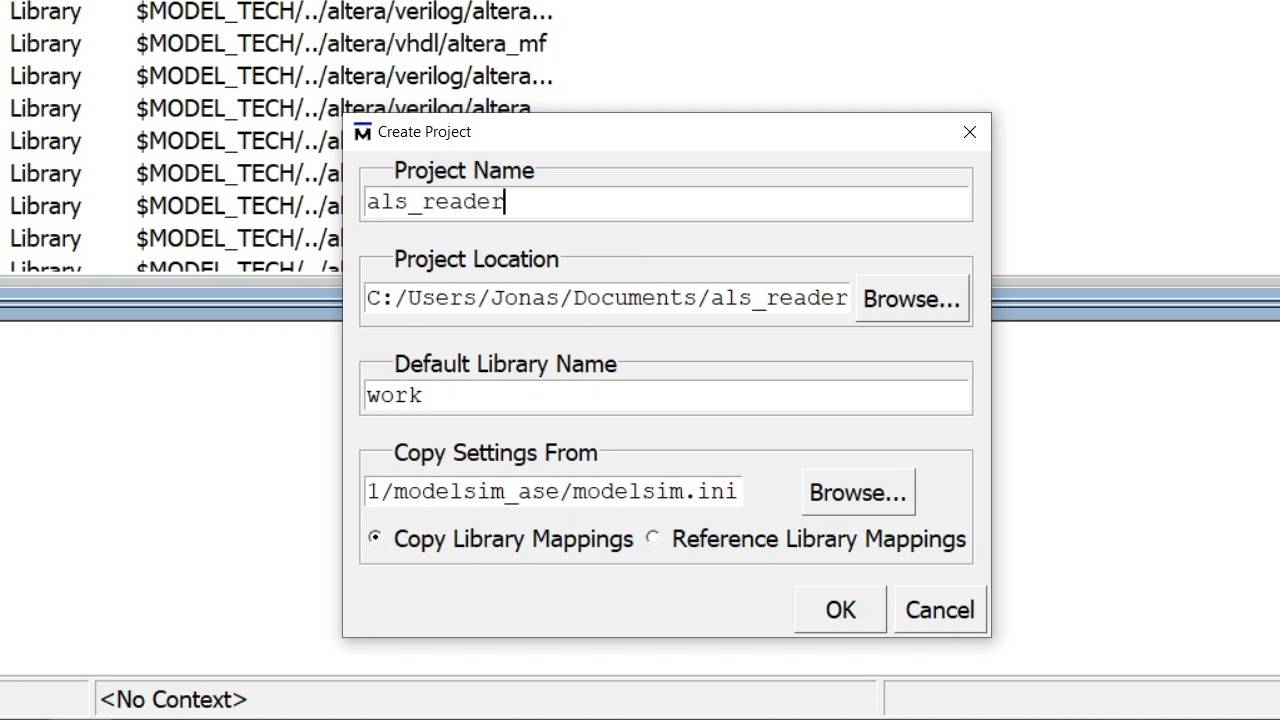
2 - Project setup
Download the project starting point Zip containing the empty testbench and modules.
3 - SPI slave BFM
We will code the bus functional model (BFM) of the SPI slave before the SPI master.
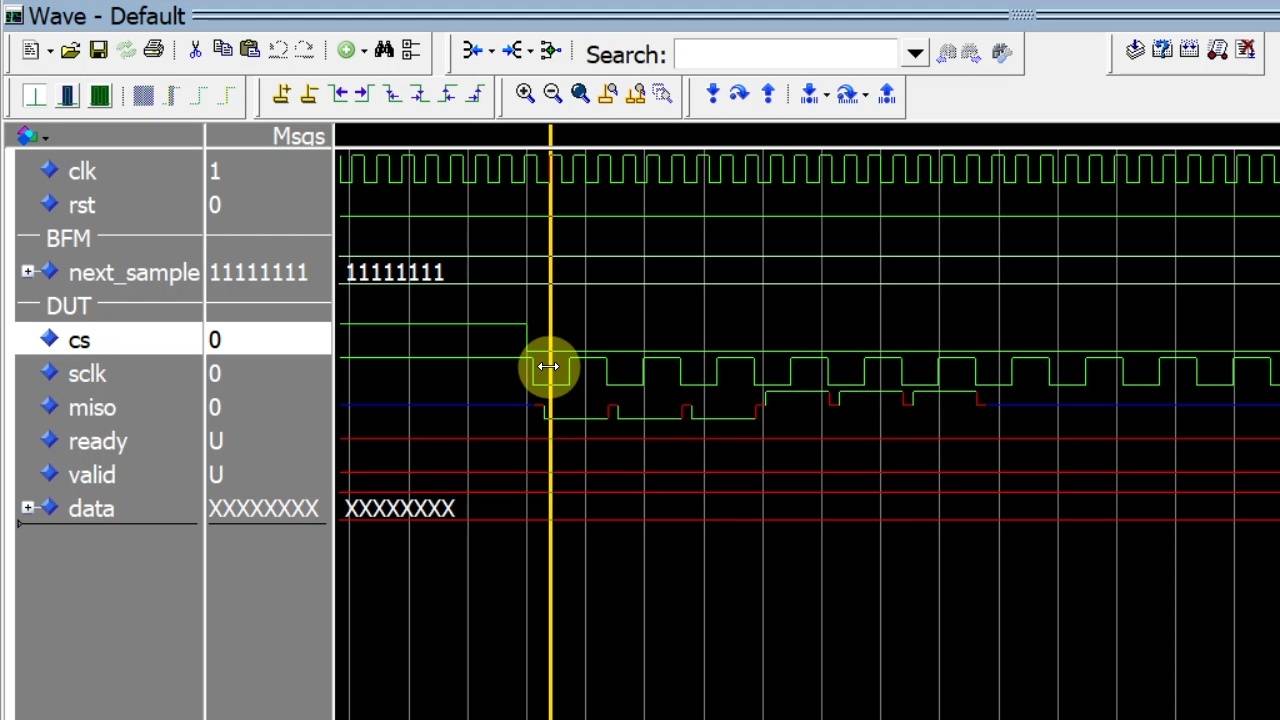
4 - Testing the BFM
Sometimes we have to create temporary code to test the testbench before introducing the DUT.
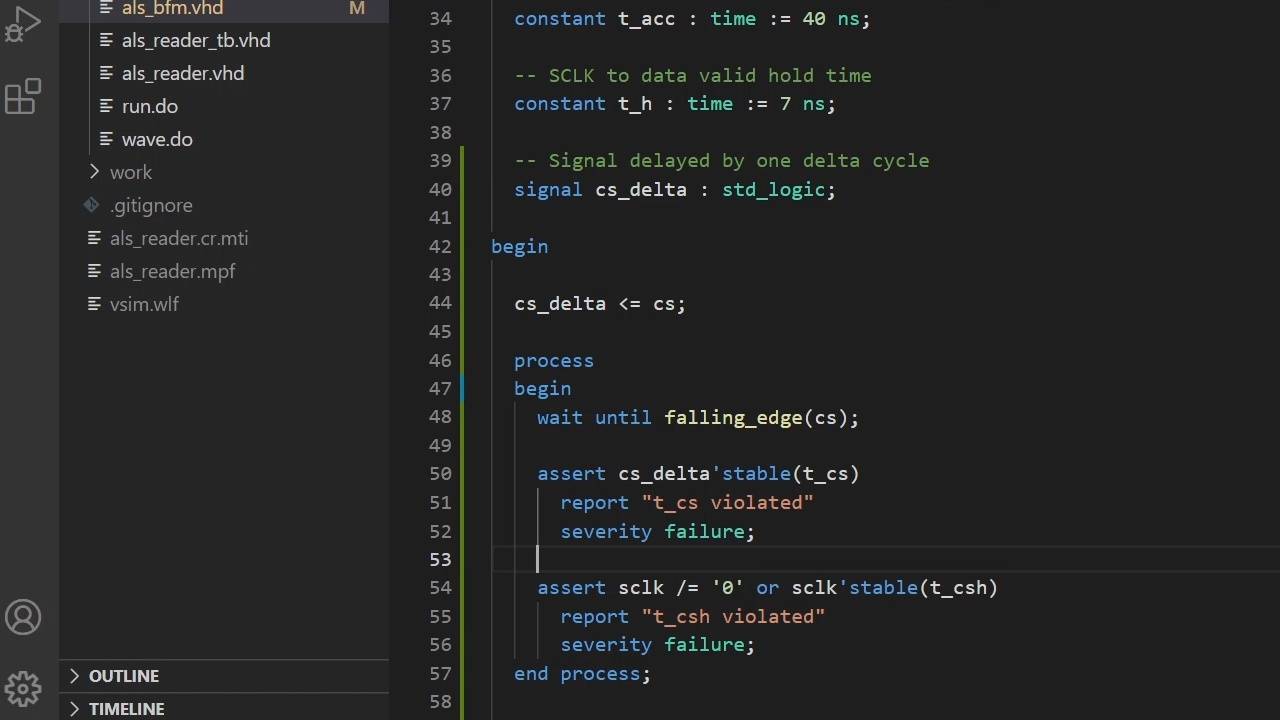
5 - Checking signal timing using 'stable
We can use the 'stable attribute to verify setup and hold times on asynchronous interfaces.
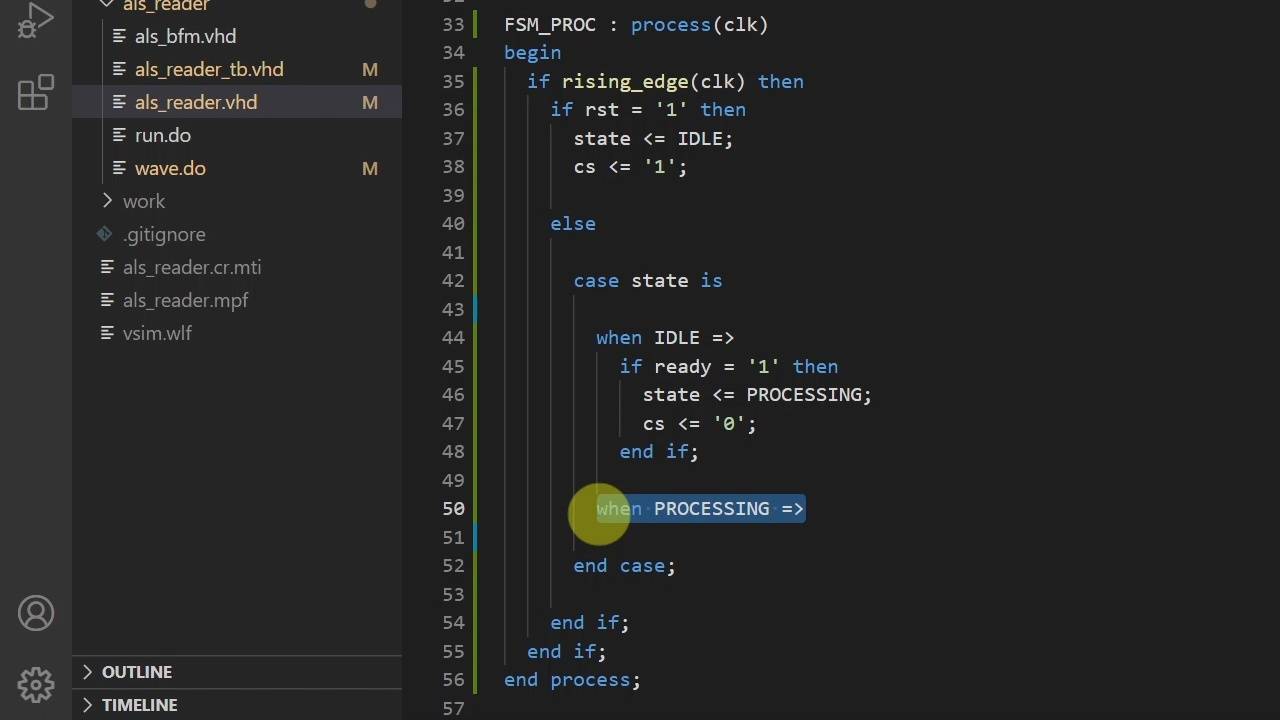
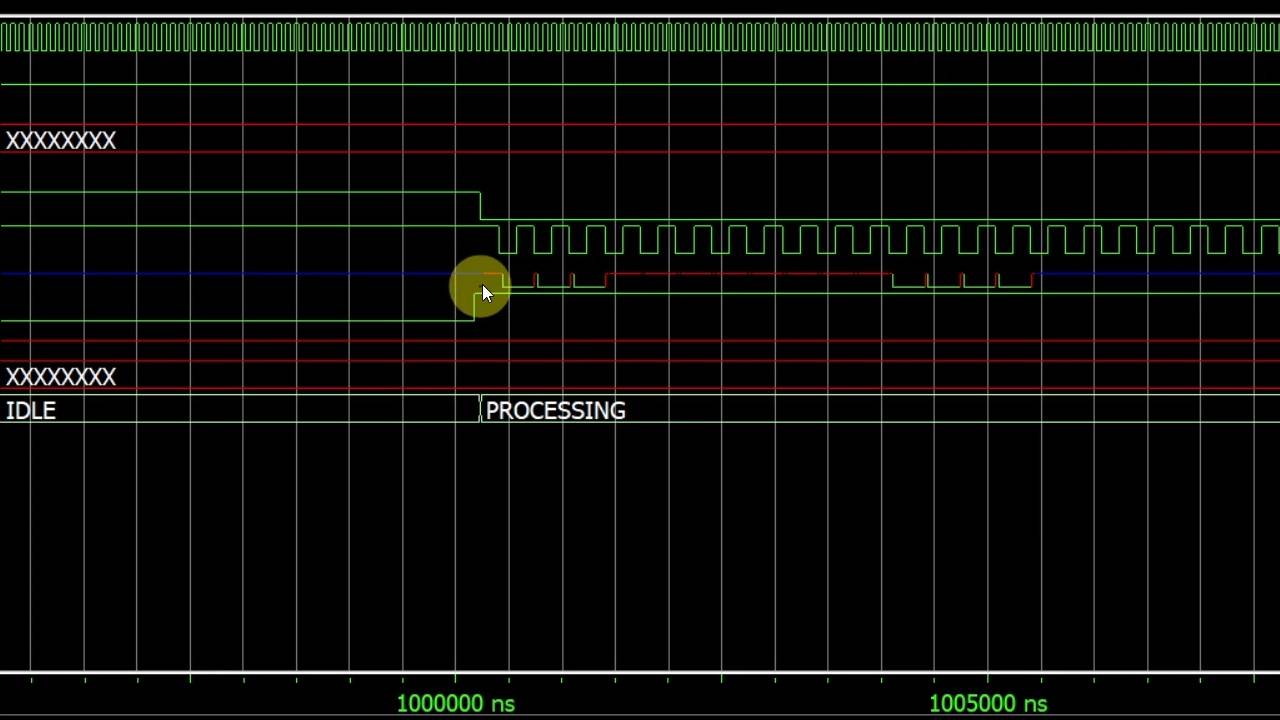
6 - SPI master FSM
Let's start on the SPI master module by creating the finite-state machine (FSM).
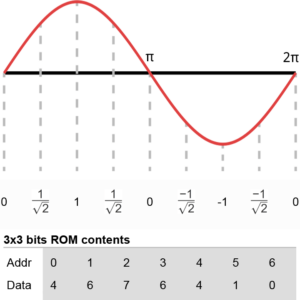
7 - Generating SCLK
We will use counters to generate SCLK based on the system clock's frequency.
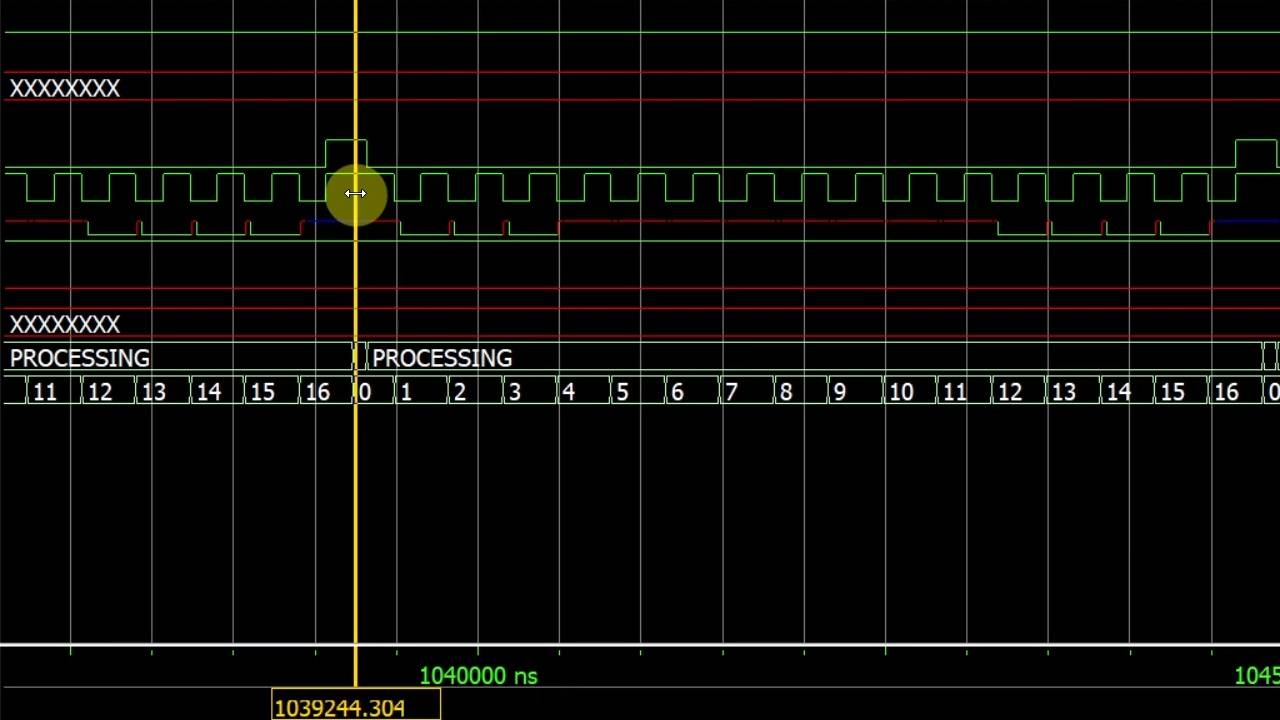
8 - Counting SCLK cycles
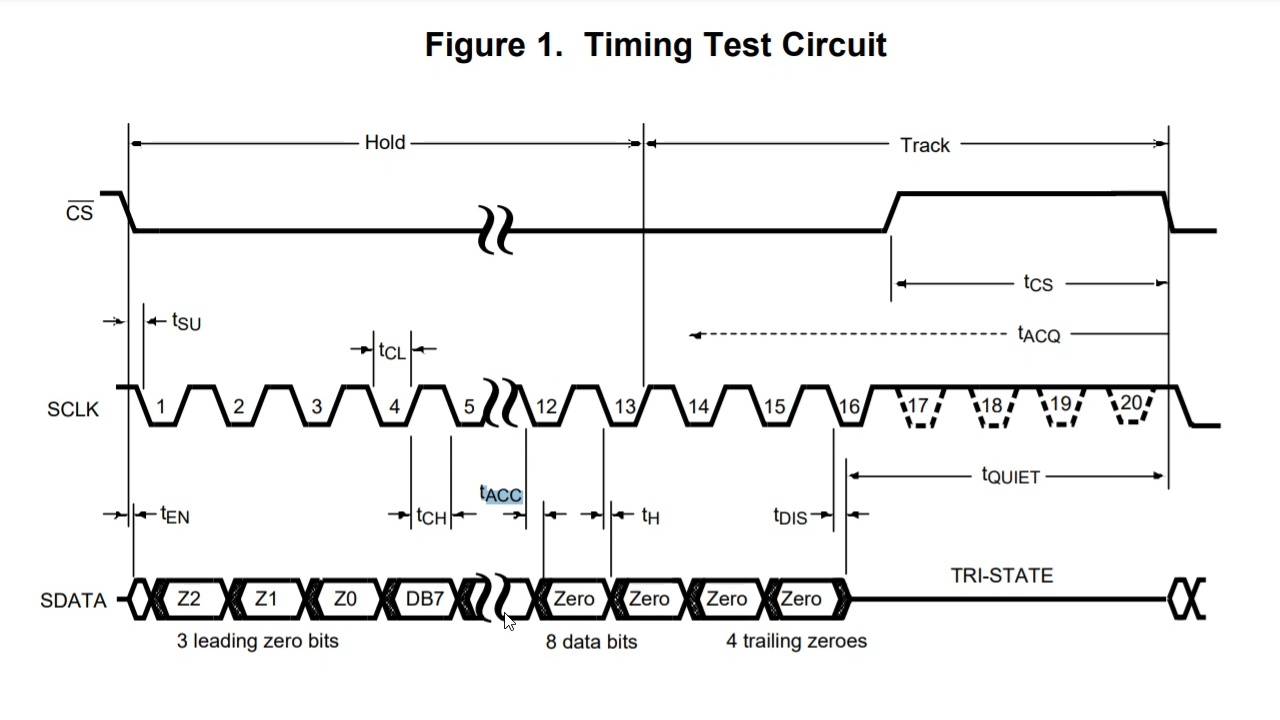
We have to count 17 SCLK periods to finalize the timing of a complete ADC reading cycle.
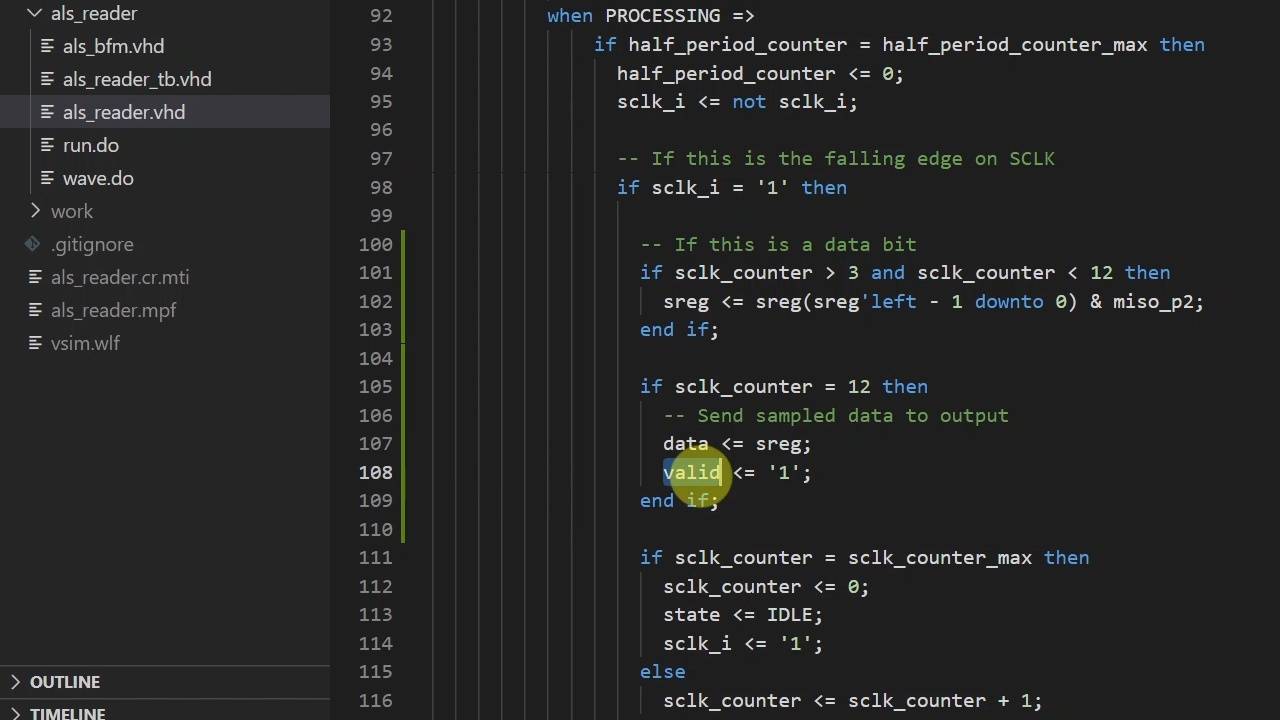
9 - Sampling the MISO line
Let's sample the input data coming from the SPI slave using a shift register.
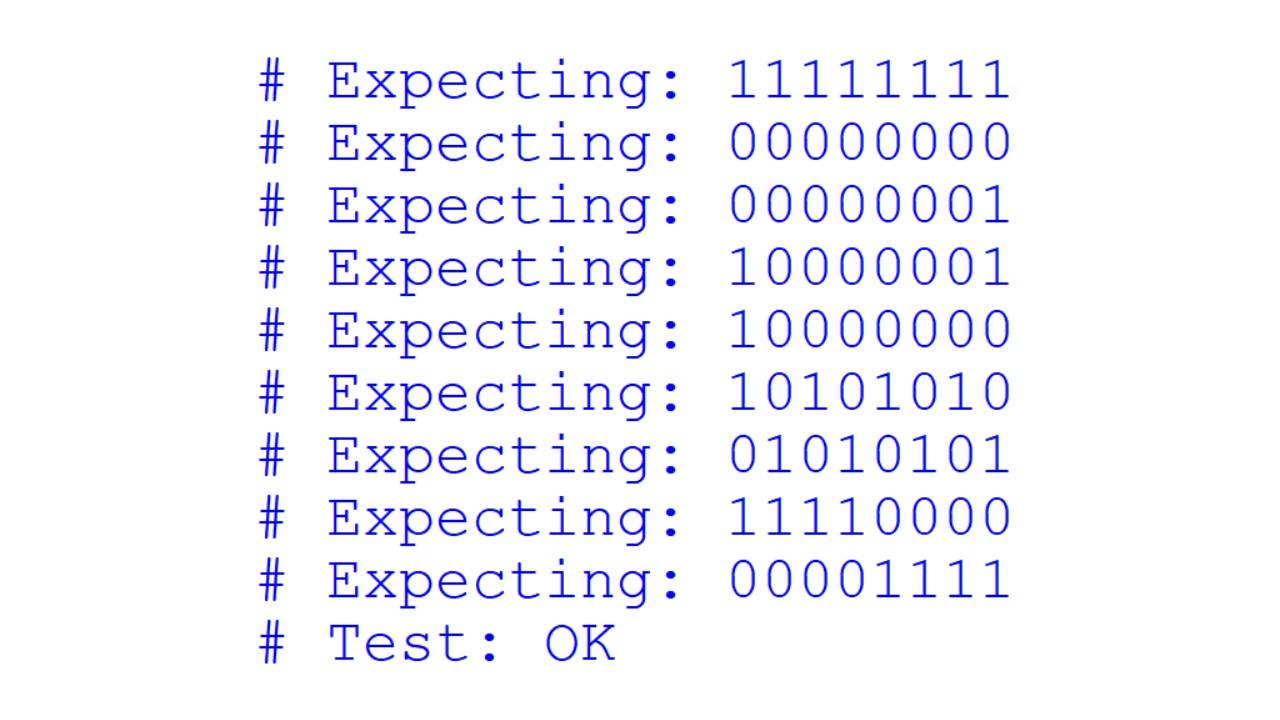
10 - Self-checking TB
It's easy to create a self-checking testbench once you have a good BFM.
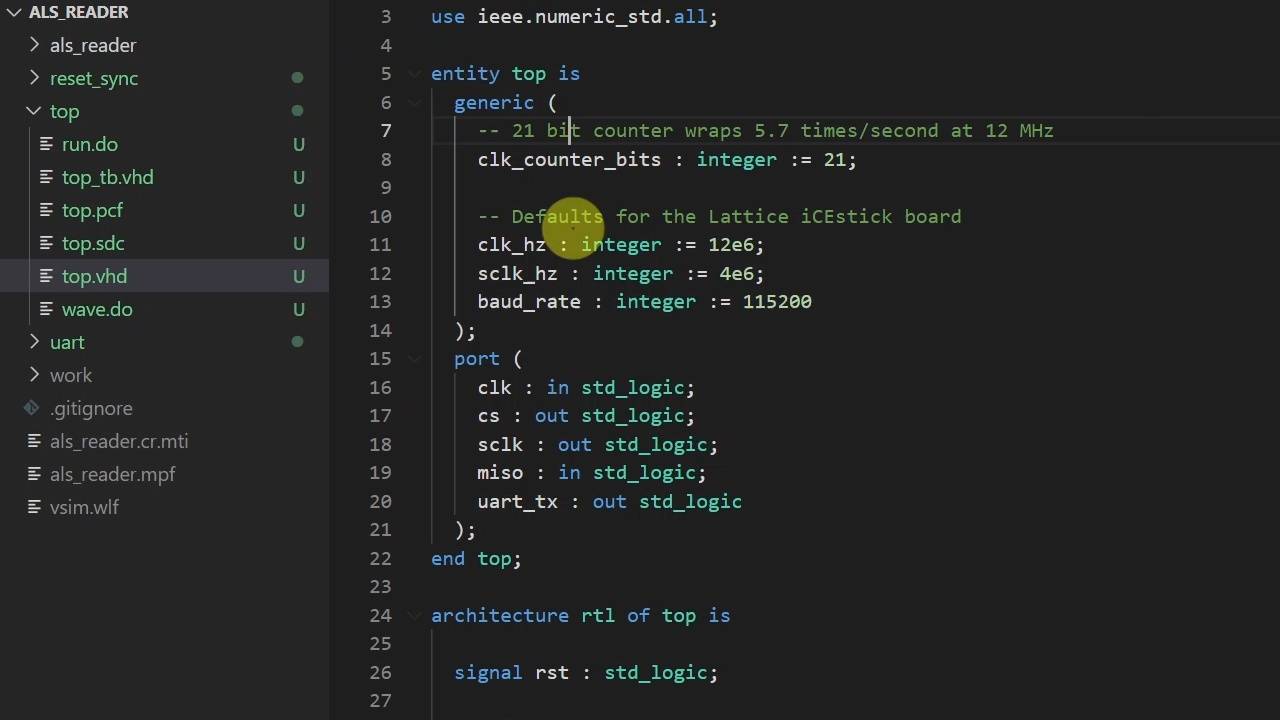
11 - Top module and TB
This top module instantiates the SPI master and two helper modules to transmit the sampled data to a computer.
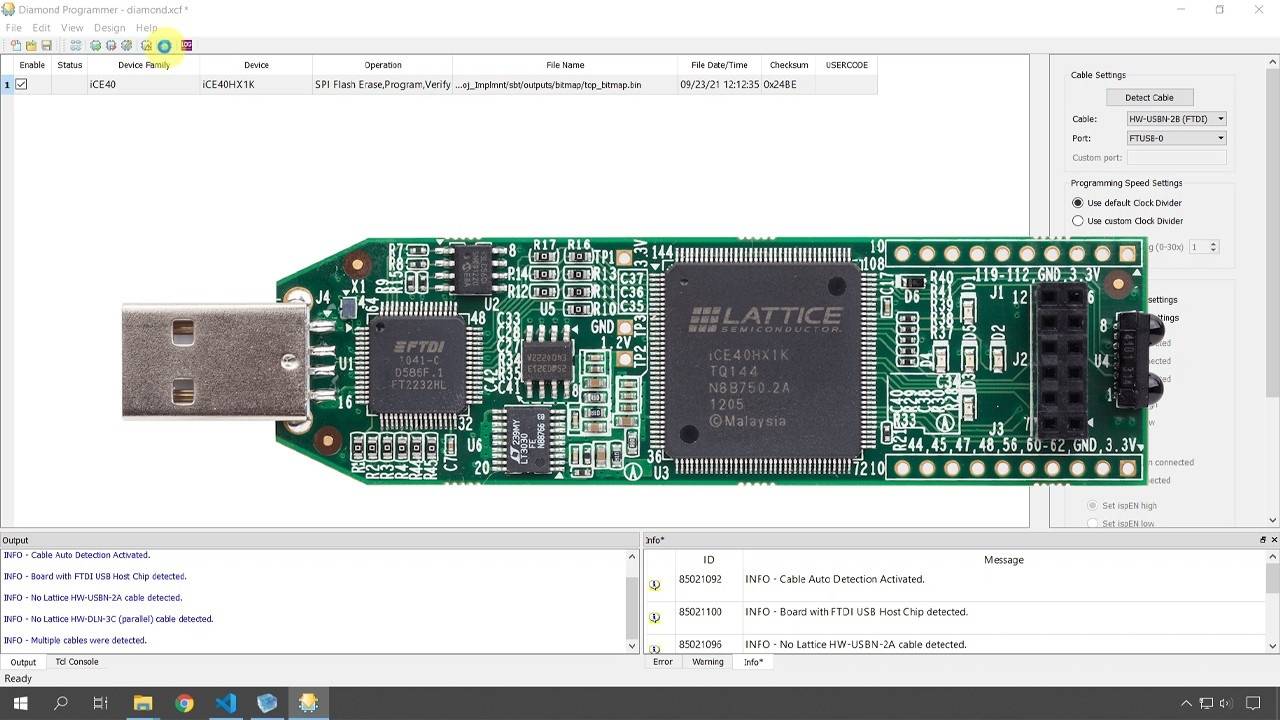
12 - Implementing on the Lattice iCEstick
Let's synthesize and implement the design and program the FPGA.
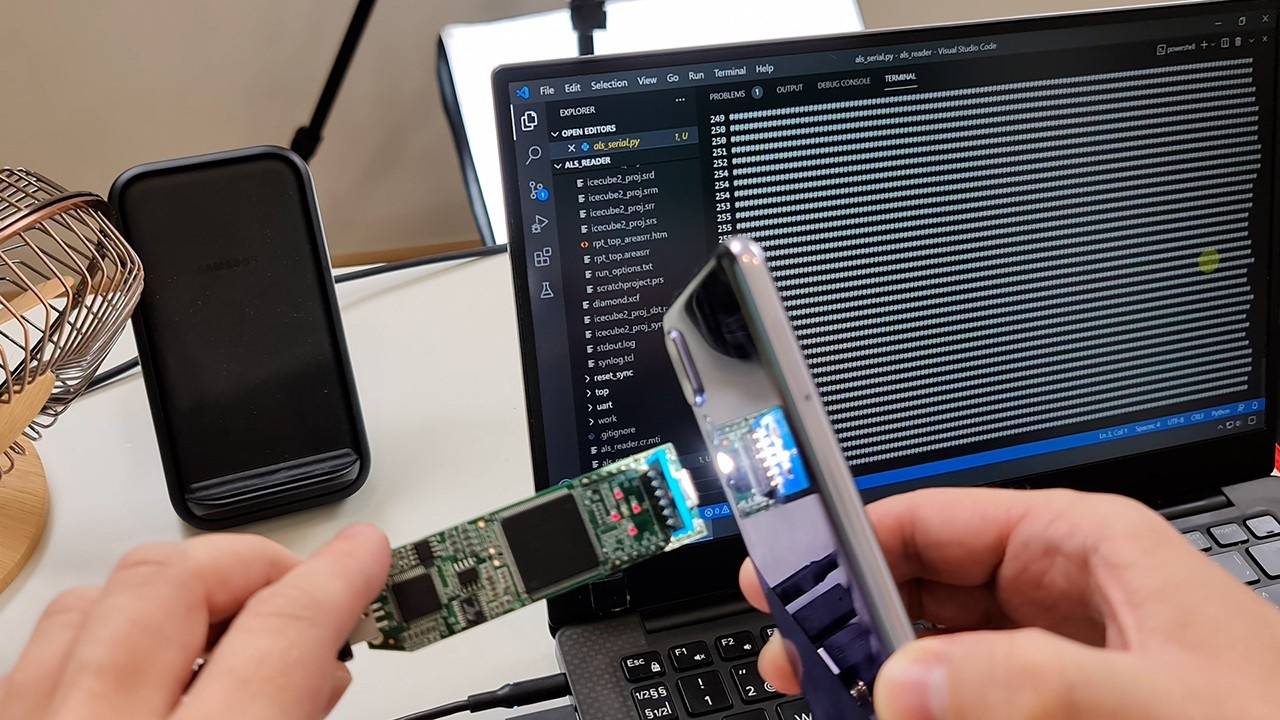
13 - Lab testing
Finally, it's time to see the SPI master module in action.
Reviews
There are no reviews yet.