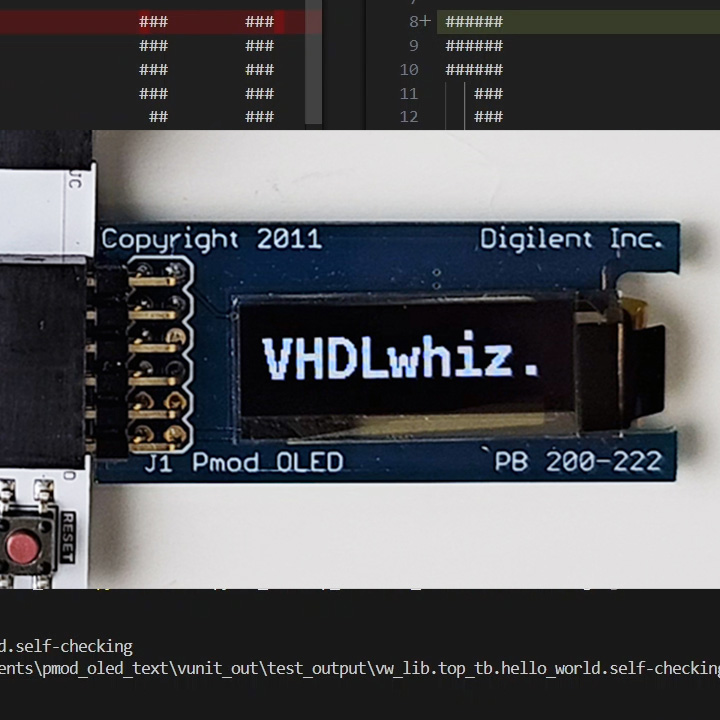
Course: VHDL text rendering with AI-assisted verification in VUnit
$59
Build a Pmod OLED text renderer in VHDL with UART, backspace, and scrolling. Use AI-generated Python and VUnit to verify the design faster.
Description
Learn to render, scroll, and erase text on the Digilent PMOD OLED using VHDL, and save time by using AI (ChatGPT) to auto-generate Python verification code that integrates with the VUnit testbench.
You’ll build a complete text rendering system on top of the existing Pmod OLED controller from an earlier VHDLwhiz course. But you don’t need to take that course first as everything you need is available for download in this course.
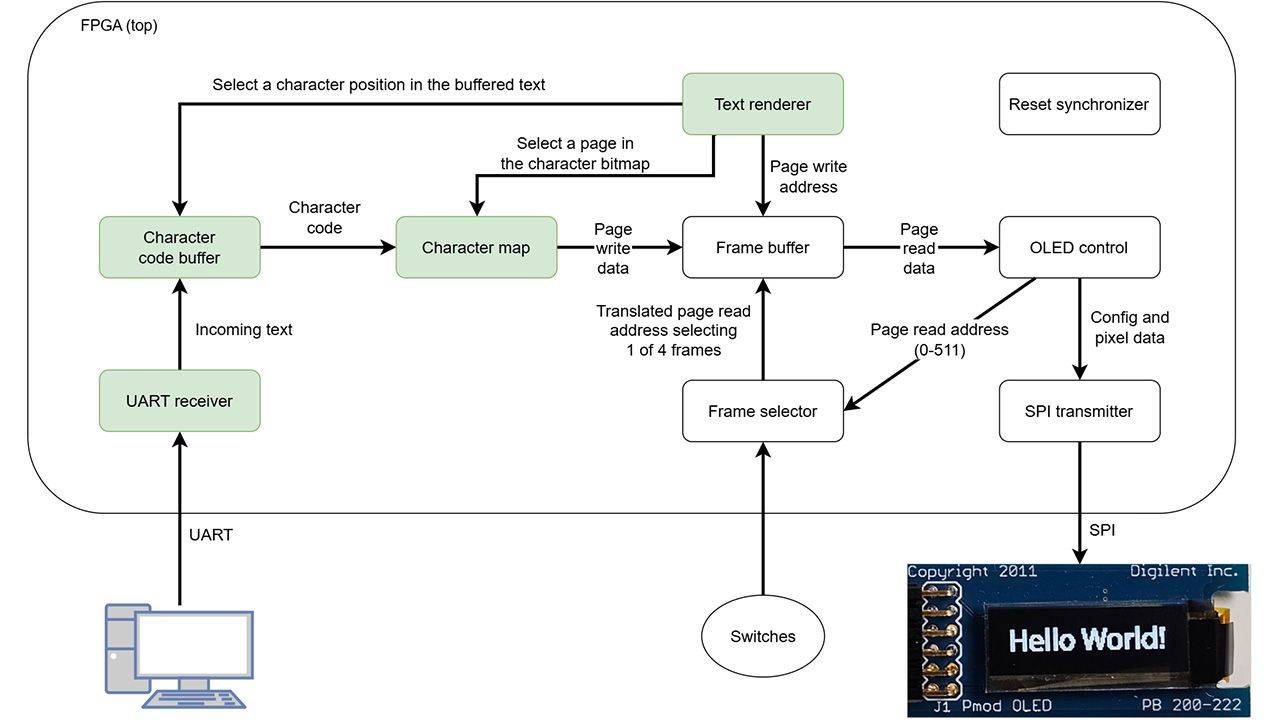
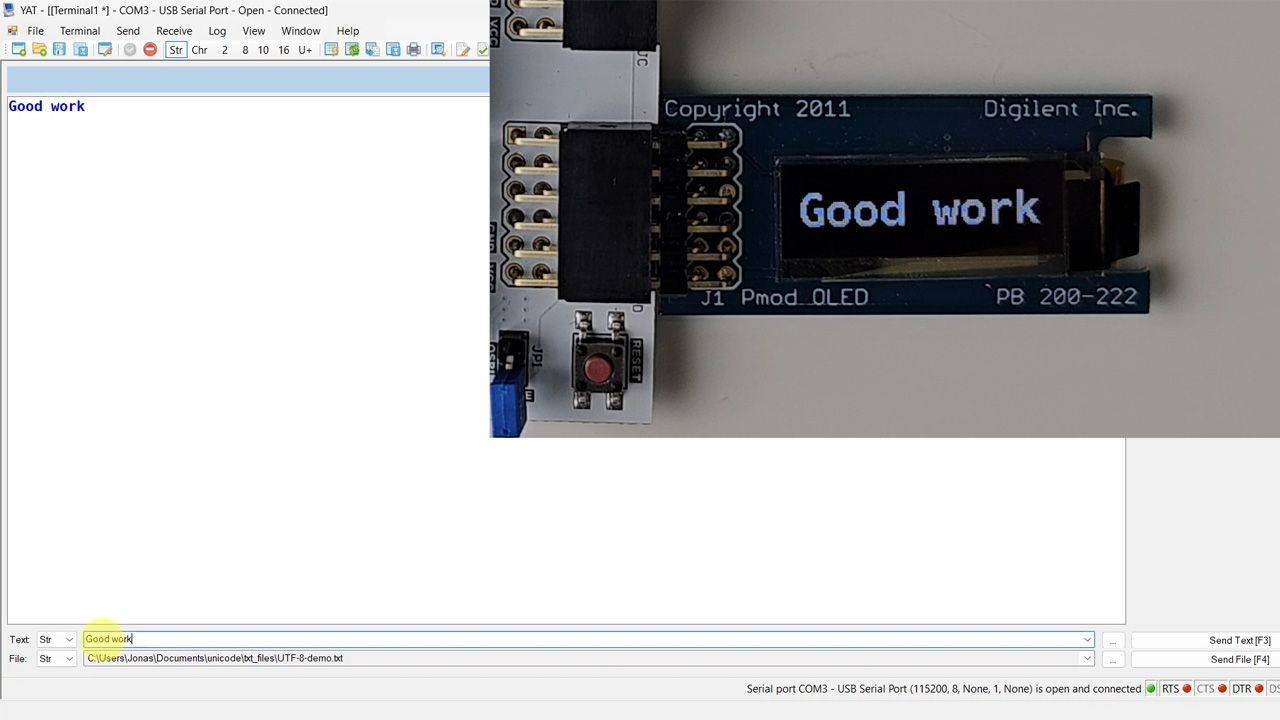
The new design adds a UART receiver, a character code buffer with backspace and scrolling, a character map ROM for all printable Latin-1 characters, and a text renderer module. The result is a design that shows text on the OLED in real time as you type in a serial terminal. When the line fills up, the text scrolls. Backspace erases the last character.
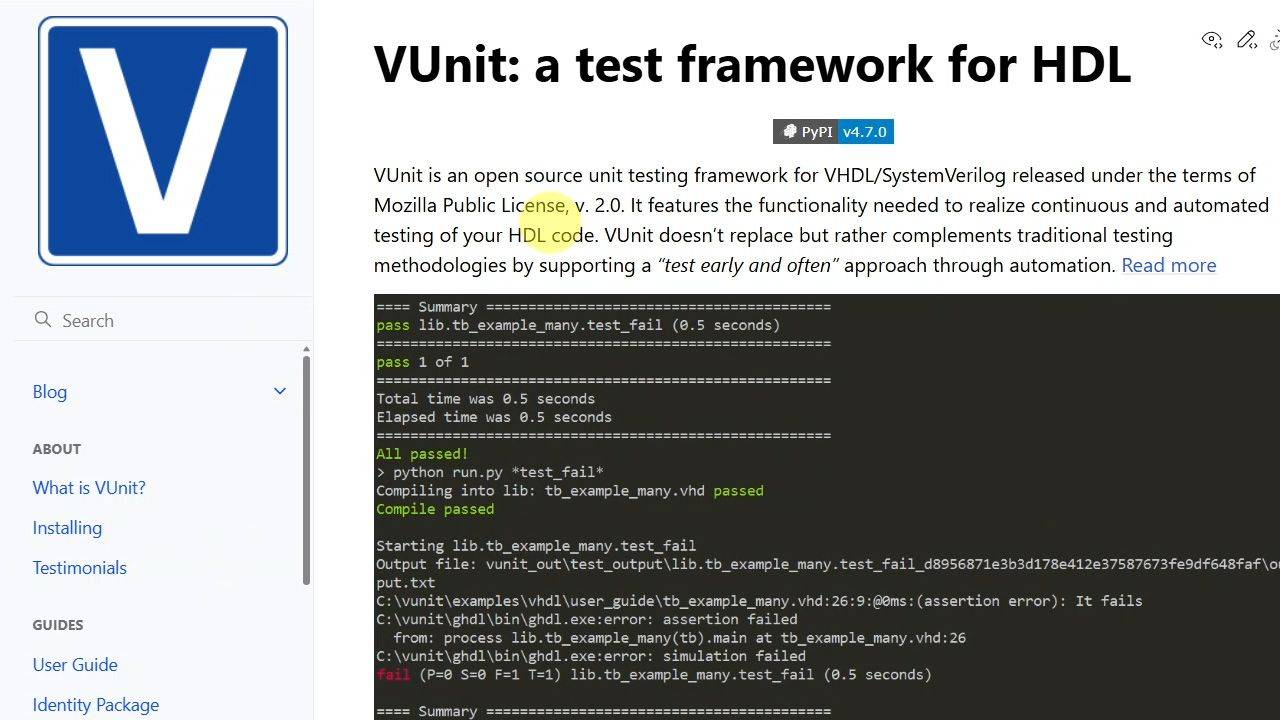
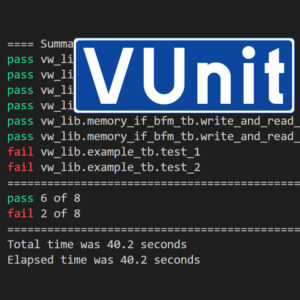
The other half of the course is verification. AI tools aren’t great at writing VHDL, but they’re excellent at Python, and VUnit lets you bring Python into your VHDL testbench. We use that combination to offload as much verification work as possible.
A minimal VHDL module spies on the SPI bus and dumps the pixel bytes to a file. AI-generated Python scripts produce the font bitmap files from a TTF font, render the actual display output, and produce the expected output as ASCII art. VUnit’s post_check hook compares them after each test case and reports the exact number of mismatching pixels.
Along the way, you’ll pick up several VUnit techniques worth keeping in your toolbox: auto-generating test cases from a list of strings, using VUnit’s UART bus functional model, overriding generics to make corner cases easier to hit, and handling file paths that work both in simulation and synthesis. The final lesson programs the design onto the Arty S7 board and tests it from a serial terminal.
This course is also available in the VHDLwhiz Membership.
The difference is that when you purchase this product, you get permanent access to the course, while the membership charges a monthly fee to access the content.
Most of the course is a simulation exercise. The final lesson tests the design on the FPGA board with a serial terminal, but you can complete the course without the hardware.
Hardware used in the course
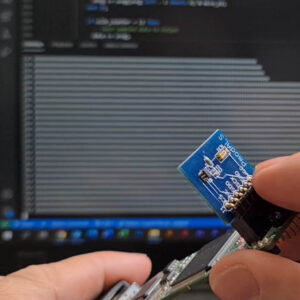
- Pmod OLED: 128 x 32 Pixel Monochromatic OLED Display (SKU: 410-222)
Resellers: Digilent, Farnell, Newark, DigiKey, Mouser, RS Electronics - Arty S7-25: Xilinx Spartan-7 FPGA (SKU: 410-352-25)
Resellers: Digilent, Mouser, DigiKey
(You can use almost any FPGA board with a UART interface and a Pmod connector.)
Software used in the course
I use Windows 11 in the course. All the other software is available for free for Windows and Linux:
- The VUnit framework
- Python 3
- Questa – Intel FPGA Edition(includes Starter Edition)
(Any version of ModelSim or QuestaSim will work) - AMD Vivado
(Or the implementation software for your FPGA architecture) - Microsoft Visual Studio Code
(Any editor will do) - YAT – Yet Another Terminal
(Any serial (UART) terminal program will do)
Course outline
The overview below shows the lessons in this course.
1 - Introduction
The course has two main goals: building a VHDL text renderer for the PMOD OLED, and using AI-generated Python scripts to create better testbenches faster.
2 - OLED display architecture and frame buffer design
To avoid starting from scratch, we’ll build on the existing OLED controller from an earlier course. This lesson explains the display architecture, the existing design, and our plan to extend it.
3 - Vivado and Questa setup for the base design
Let’s begin by creating the Vivado project and running the existing testbench in the Questa simulator. We’ll also take a first look at the code.
4 - Converting the testbenches to VUnit
Because AI is not good at coding VHDL, we'll let it create Python scripts instead, and the best way to integrate that with a VHDL testbench is by using the VUnit framework.
5 - Fixing file path issues in VUnit
VUnit runs simulations from a temporary 'vunit_out' subfolder rather than the project directory, which breaks any hardcoded relative paths in the VHDL files. Let's fix that problem.
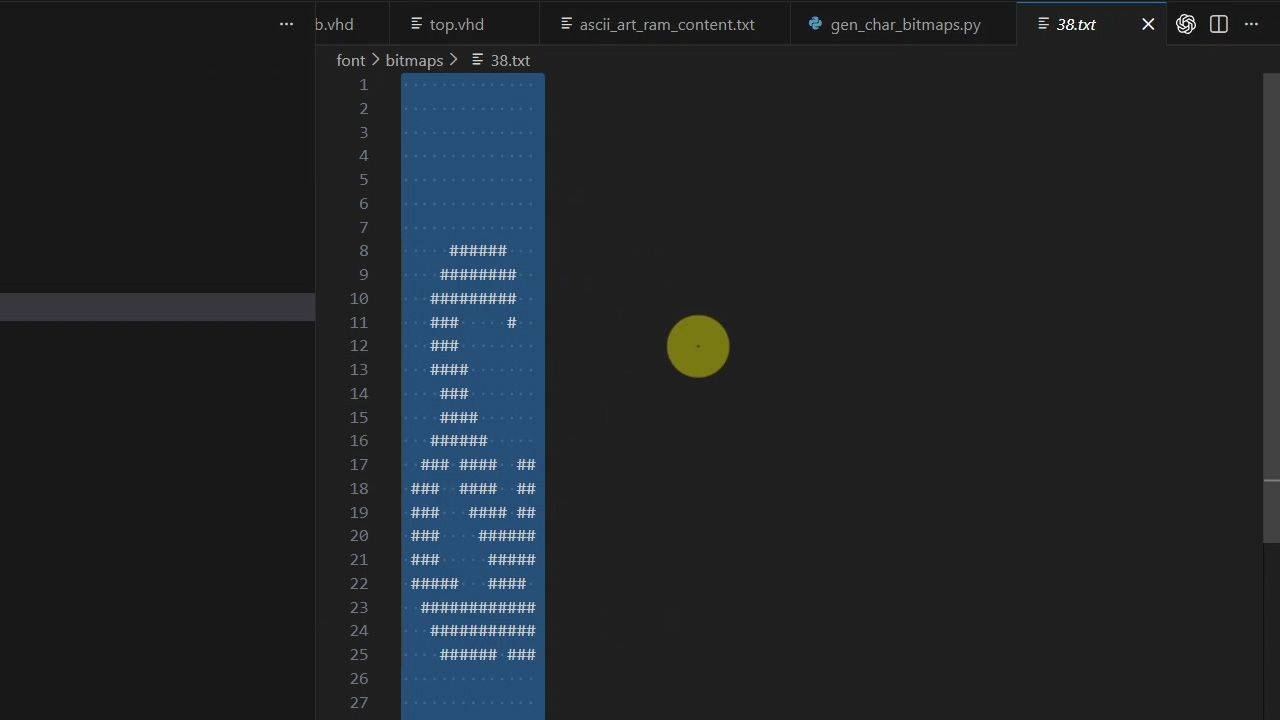
6 - Generating font bitmaps with AI and Python
We'll generate the pixel data for all printable Latin-1 characters by using a Python script. Let's save time by using ChatGPT Codex for the scripting.
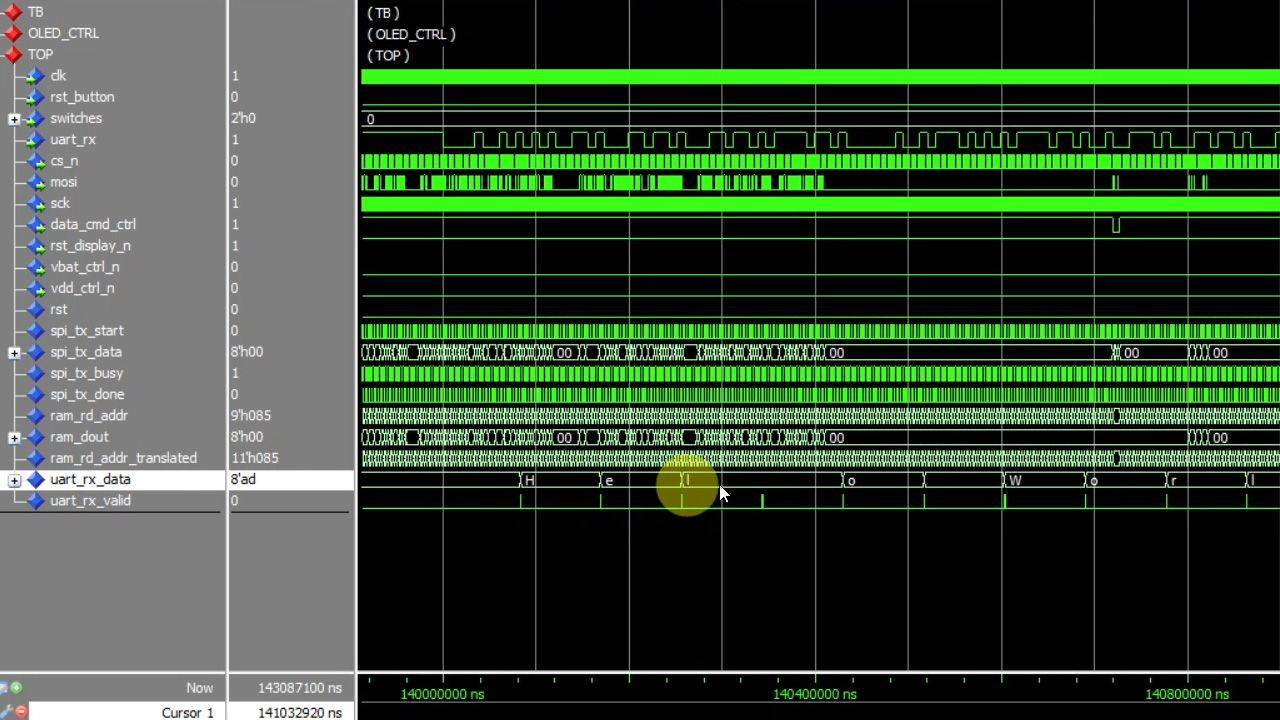
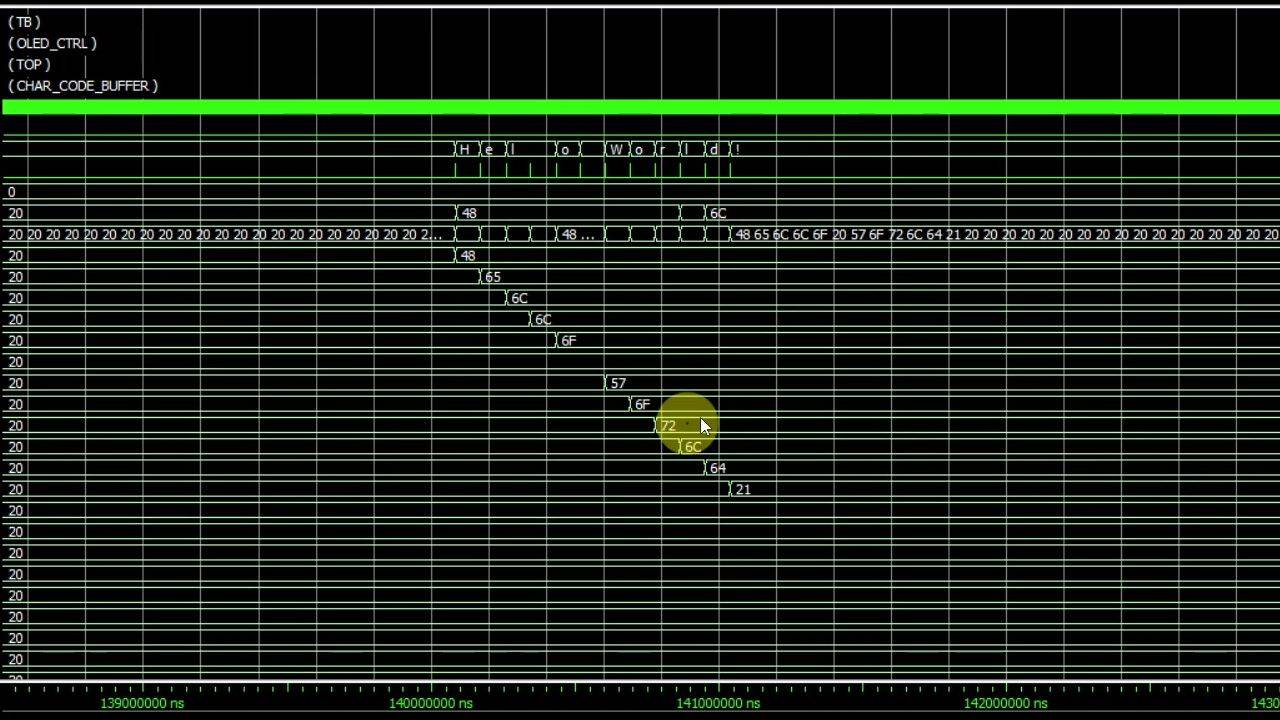
7 - Dumping SPI display data for verification
Let's create a minimal VHDL simulation module that captures pixel data sent over the SPI interface to the OLED display and dumps it to a file.
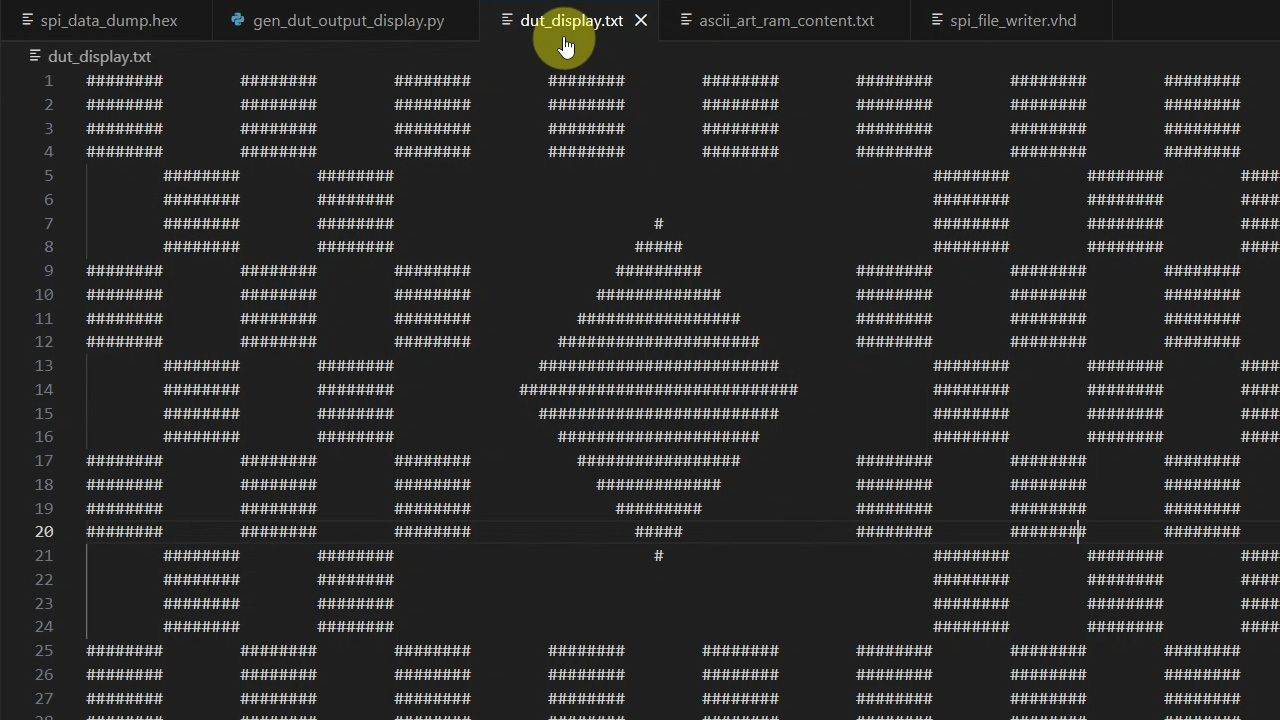
8 - DUT output visual representation
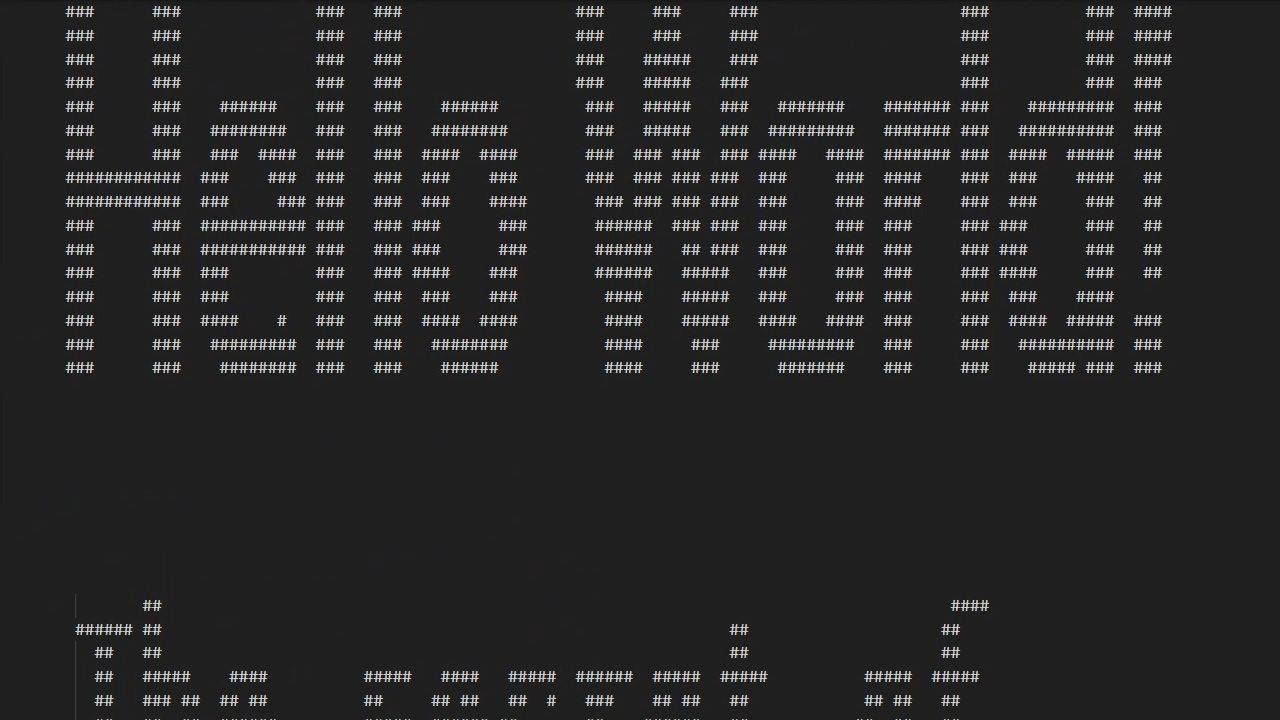
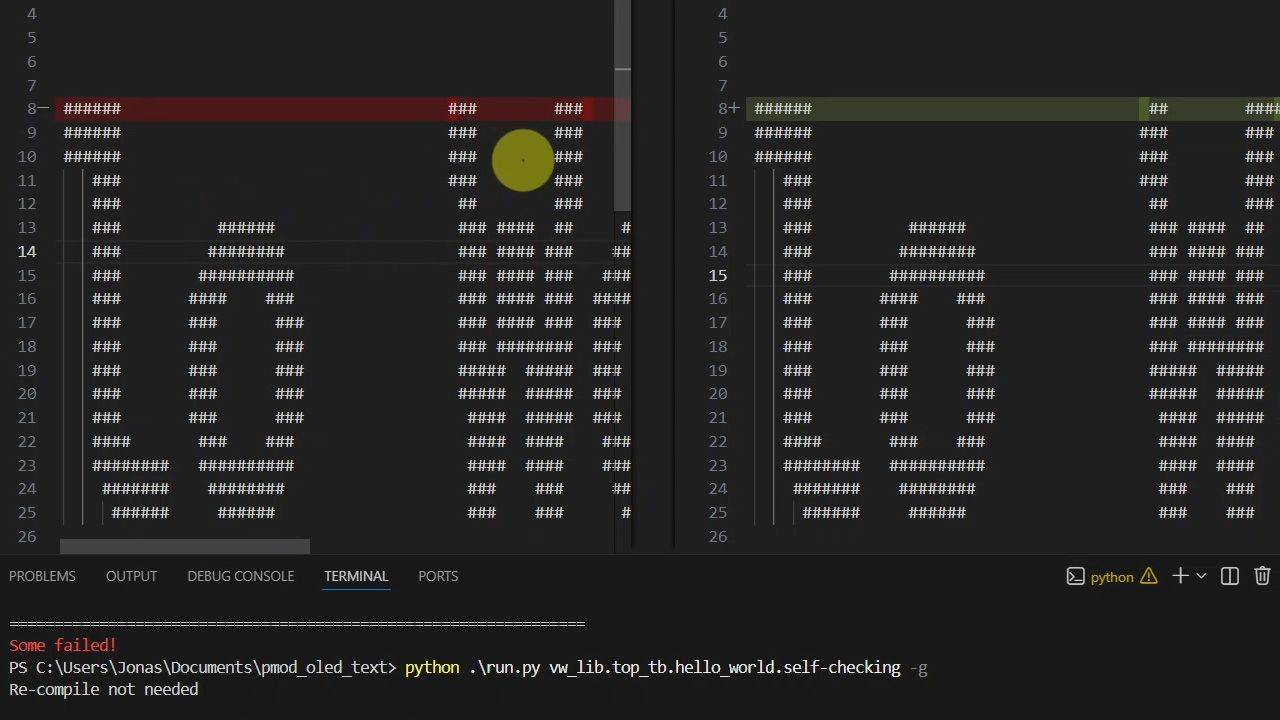
We need a Python script that renders an ASCII art image of the SPI pixel data dump. With a well-written prompt, you can make AI (ChatGPT) create it for you in a minute.
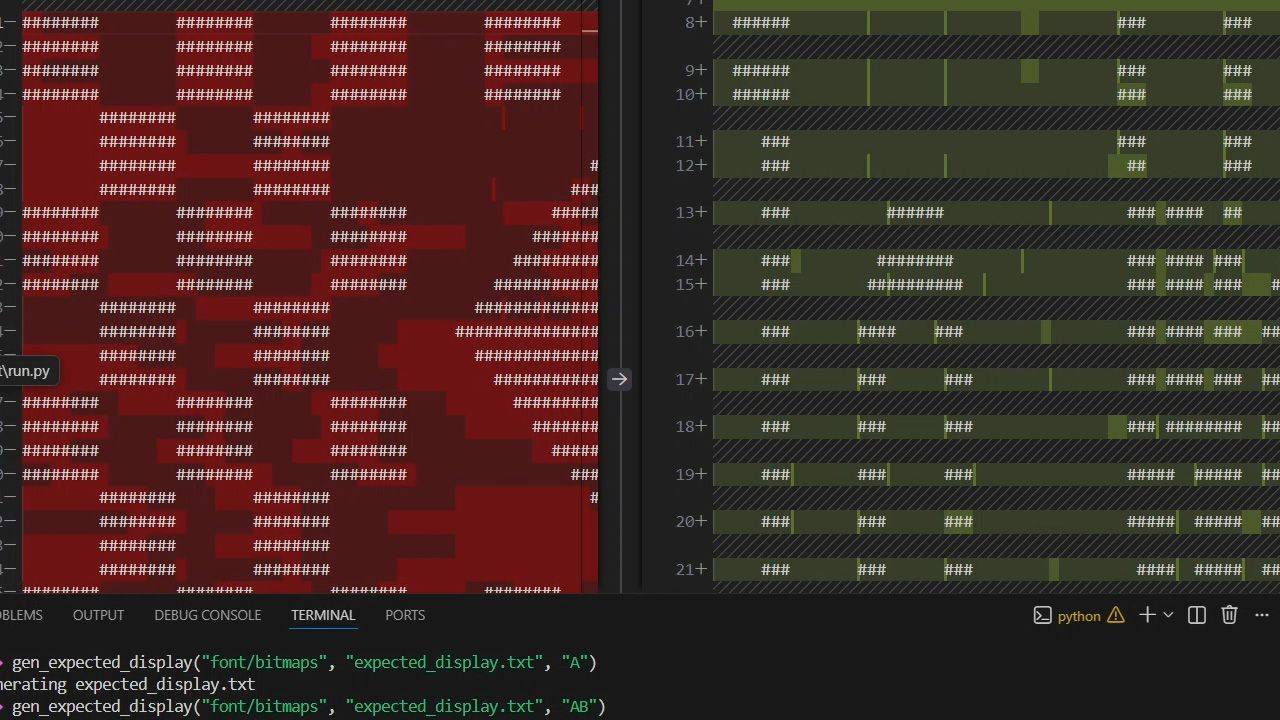
9 - Expected output as ASCII art
In this lesson, we let AI generate a Python script that produces the expected display state for a given test case. The algorithm simulates text entry, character stacking, and scrolling.
10 - Verifying VHDL testbench results using Python
VUnit has a 'post check' hook that will run a Python function after the VHDL simulation completes. Let's use it to call our scripts and compare the DUT output to the expected ASCII art image.
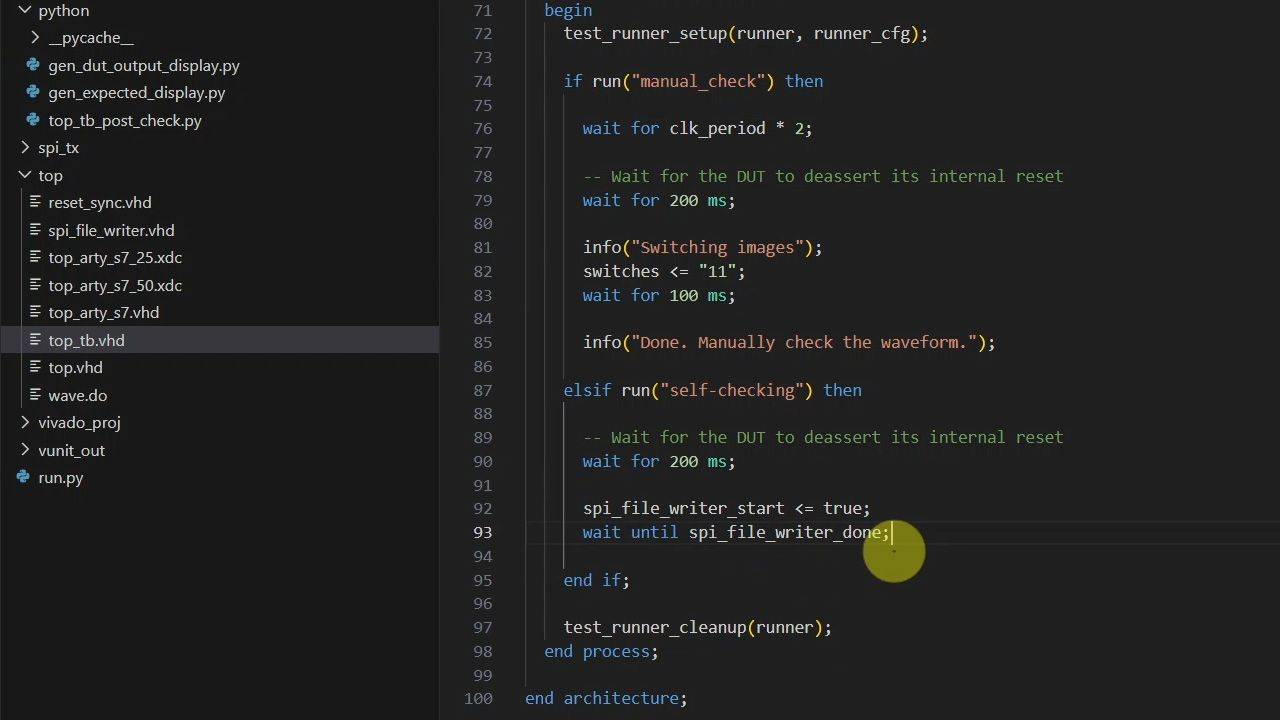
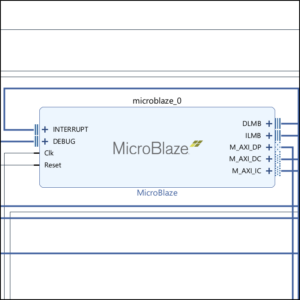
11 - Adding UART to the top module and testbench
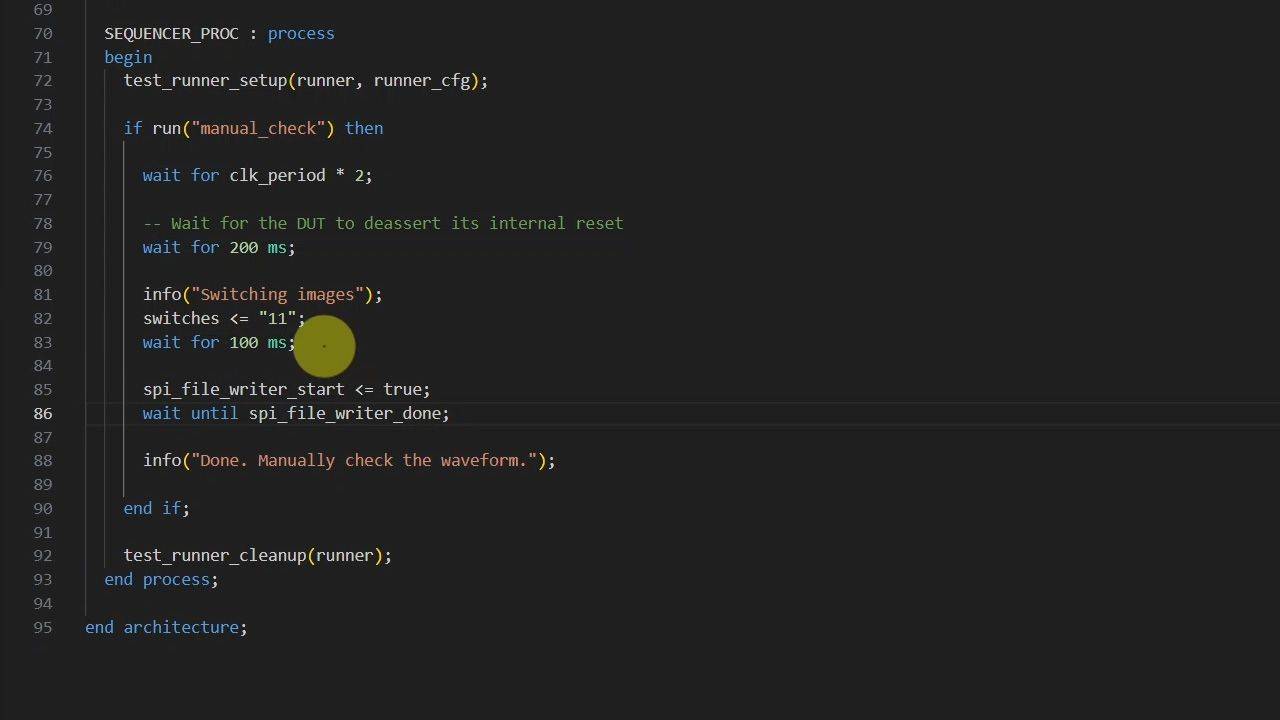
The VUnit run.py script auto-generates test cases from a list of strings. We'll use VUnit's UART bus functional model (BFM) in the testbench and VHDLwhiz's UART receiver in the top module.
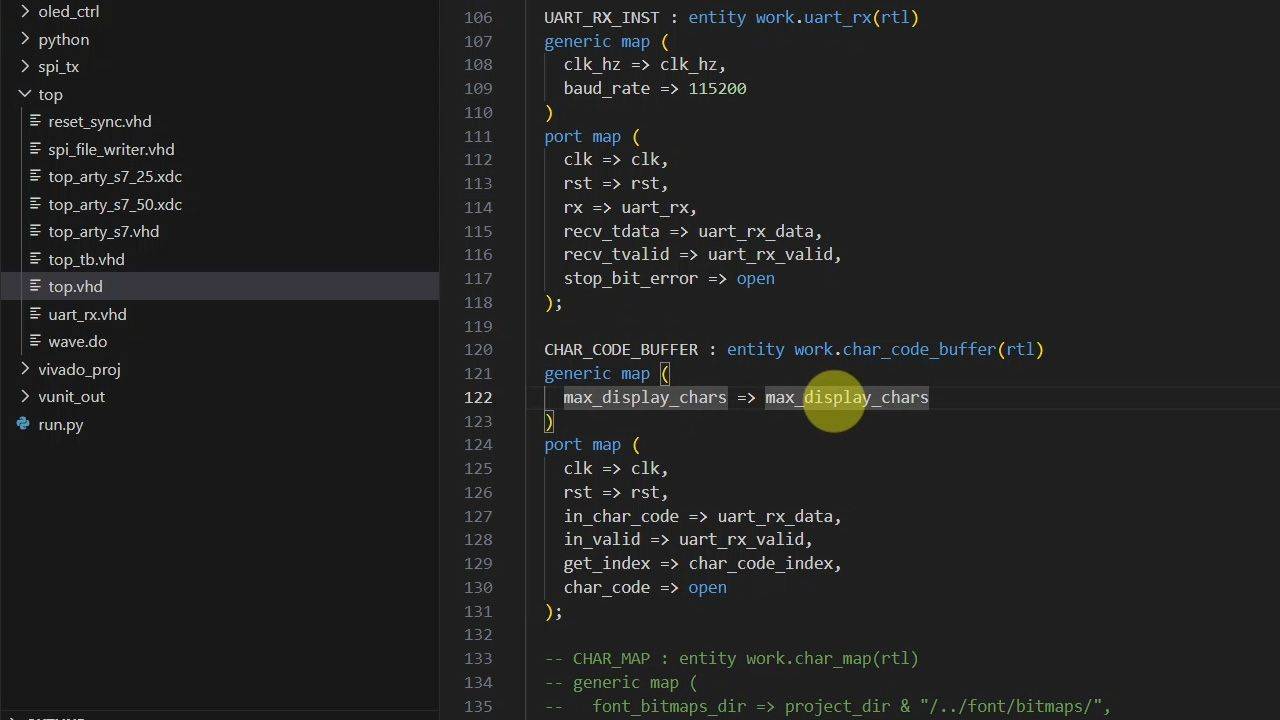
12 - Character code buffer
This module stores text, handles backspace behavior, and implements scrolling by providing access to a window of only the rightmost characters that fit on the display.
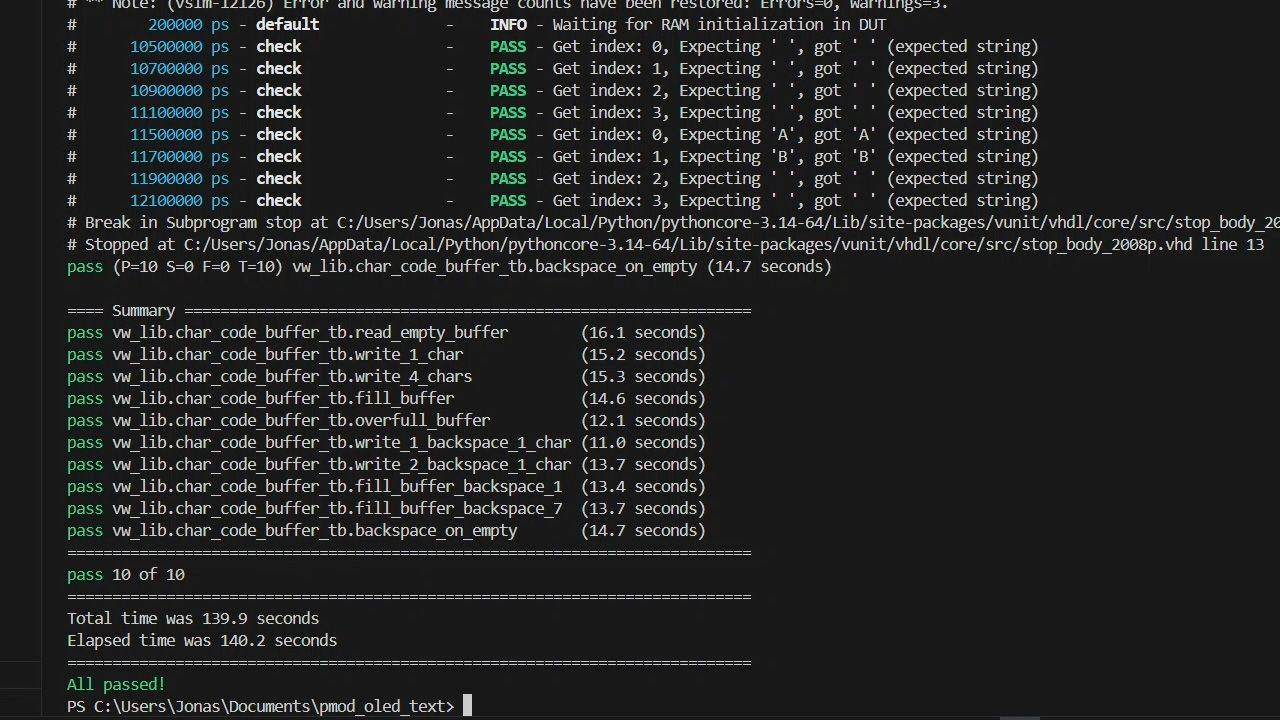
13 - Character code buffer verification
Let's create a dedicated VUnit testbench for this module since there are many corner cases to check. We need to test things like overfull buffer and erase-on-empty, as well as normal operation.
14 - Character map module for text rendering
This ROM shall contain the pixel data for every printable Latin-1 character. We need to make an impure VHDL function to read the bitmap ASCII files to initialize the block RAM at synthesis time.
15 - Text renderer module debugging
Let's create the last module for the new PMOD OLED design that allows us to send text to the display. But will it work straight away? With this testbench setup, debugging should be easy.
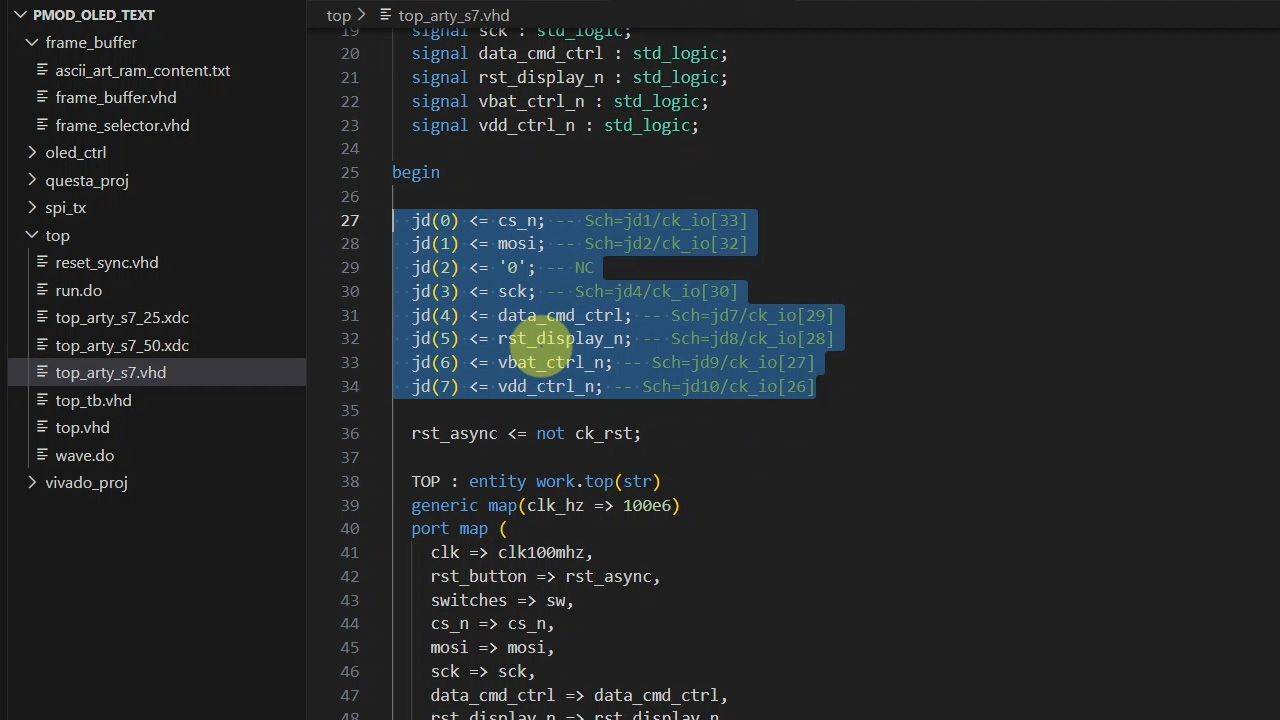
16 - Testing on the FPGA board
Finally, we synthesize the design in Vivado and test it on real hardware. Using a serial terminal, we verify backspace and scrolling behavior, and that the OLED display behaves as in the testbench.
This course is also available in the VHDLwhiz Membership.
The difference is that when you purchase this product, you get permanent access to the course, while the membership charges a monthly fee to access the content.
Reviews
There are no reviews yet.